
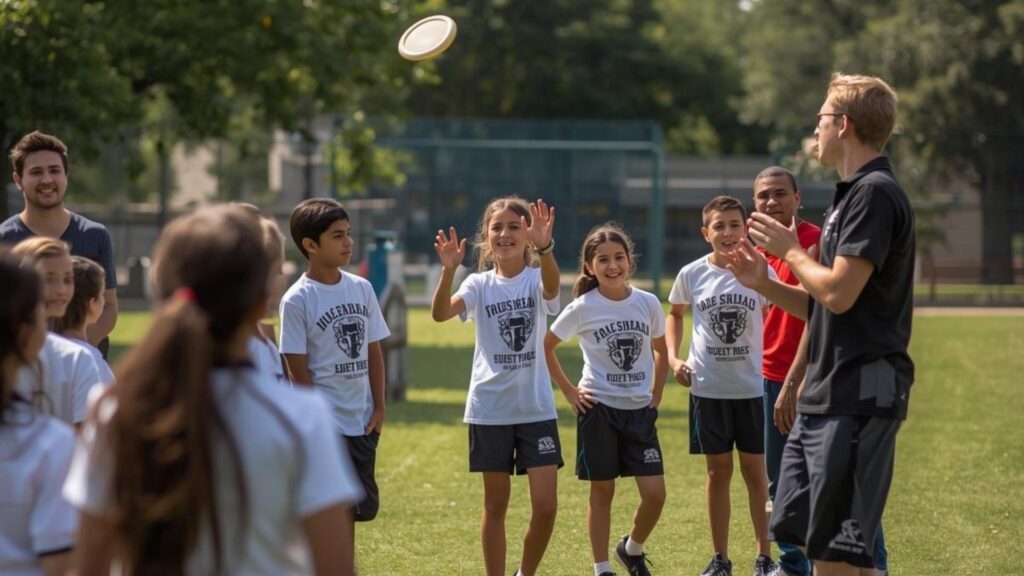
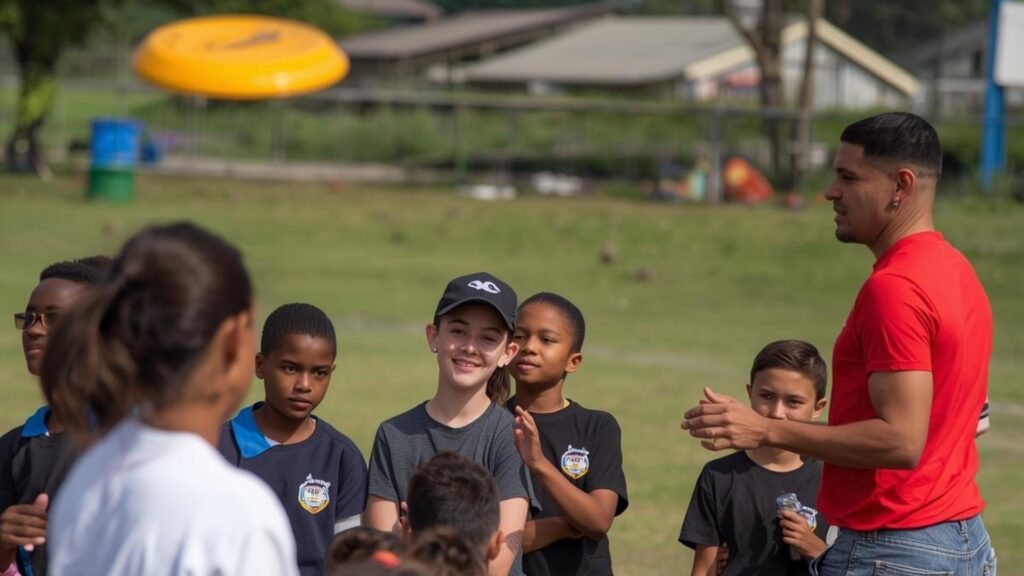
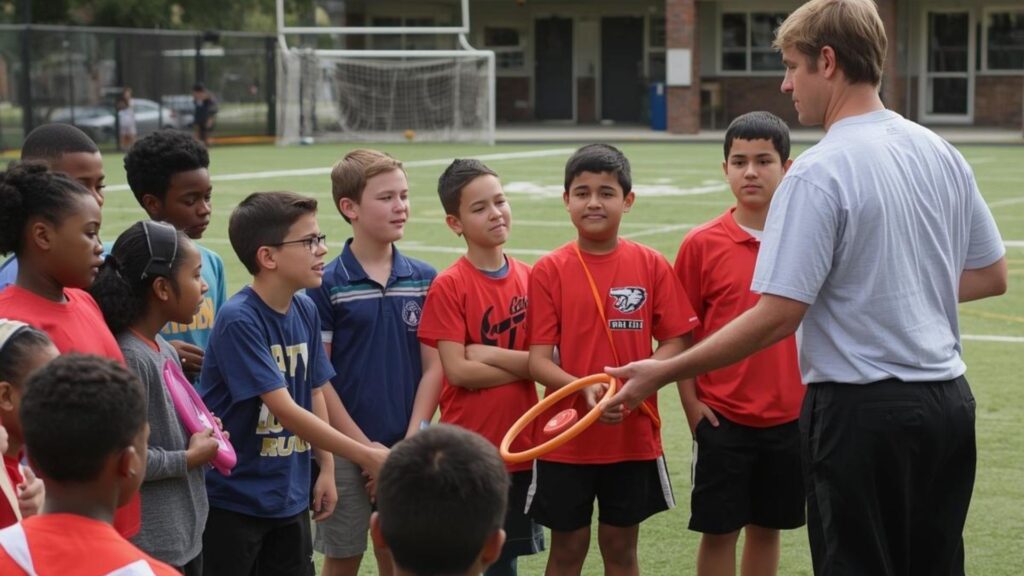
Teaching frisbee skills to absolute beginners requires a structured approach that builds confidence from the very first throw. Many students feel nervous when they hold a disc for the first time because the motion seems strange and unfamiliar. Teachers must break down complex movements into simple steps that anyone can master with practice.
The challenge becomes greater when an entire class has zero frisbee experience. These situations demand clear instruction and plenty of repetition before students feel comfortable. Rushing through fundamentals creates frustration that can discourage students before they experience any success.
This guide provides a proven sequence that transforms anxious beginners into capable throwers and catchers. Each step addresses common mistakes before they become permanent habits. Students who follow this progression develop solid technique that serves them well in any disc sport.
So if you’re feeling overwhelmed trying to plan your PE classes from scratch, you don’t have to piece together lessons on your own. Download our free Middle School Ultimate Frisbee PE Unit Plan and walk into every class fully prepared, complete with structured drills, skill progressions, and game-ready activities designed specifically for beginners.
It’s perfect for middle school PE teachers who want to build student confidence and skill from day one.
Why Proper Technique Matters
Improper technique can lead to a variety of issues, both physically and in terms of performance. For disc sports specifically, proper technique is crucial for accurate and consistent throws and catches. Without it, students are more prone to injuries such as strains or sprains, which can result in missed games or even long-term damage.
Additionally, proper technique allows students to maximize their potential and reach their full athleticism. By using the correct form and mechanics, students can generate more power and control in their throws and catches. This not only makes them more effective on the field but also reduces strain on their body.
Step-by-Step Guide on Teaching Proper Throwing and Catching Technique
Step 1: Introduce the Disc
1. Allow Free Exploration
Give each student a disc and allow three minutes of unstructured play. Tell them to flip it and spin it or try anything that helps them understand how the disc behaves. This exploration reduces fear because students discover the disc will not hurt them.
Watch how students naturally attempt to throw during this phase. Some will try baseball motions while others push the disc away without spin. These attempts reveal misconceptions you can address before formal instruction begins.
Gather students after exploration and ask what they noticed. Many mention that spin makes the disc fly better or that it curves unexpectedly. These observations provide perfect entry points into proper mechanics.
2. Demonstrate Basic Properties
Show how spin stabilizes flight by throwing one disc with good rotation and another without any spin. The wobbly flight of the spinless disc makes the concept obvious to everyone. Explain that the wrist snap at release creates the spin that keeps the disc level and predictable.
Hold the disc at different angles and ask students to predict which direction it will curve. This demonstration helps them understand why keeping the disc flat matters. Pass the disc around so each student feels the weight and texture before moving forward.
Step 2: Teach the Backhand Grip
1. Show Proper Hand Position
Demonstrate the backhand grip with your thumb flat on top and four fingers spread underneath the rim. The index finger extends along the outer edge while the other fingers curl around to add power. This grip gives beginners the most control over release angle.
Walk through the class and physically adjust each student’s grip. Verbal descriptions alone rarely produce accurate results with beginners. Check that thumbs rest flat, and fingers spread rather than bunch together.
Have students practice picking up the disc and immediately forming the correct grip. Repeat this ten times until most students demonstrate consistency. This repetition builds muscle memory for game situations.
2. Fix Common Mistakes
Watch for thumbs placed too far toward the center rather than near the rim. This reduces control and makes spin harder to generate. Gently move thumbs to the correct position and explain that rim contact provides leverage.
Some students grip with just fingertips instead of the full finger length. This weak grip leads to early releases and poor accuracy. Show them how fingers should make solid contact along the rim while the palm stays off the disc.
Point out students with excellent grip and ask them to demonstrate for classmates. Peer modeling works well because seeing another beginner succeed makes the skill feel achievable. You may also check out our guide on Teaching Spirit of the Game to Middle and High School Students to Build the Foundation Through Deliberate Practice.
Step 3: Practice the Throwing Motion
1. Break Down the Movement
Teach the backhand throw as three phases that flow together. First step forward with the non-dominant foot while the throwing arm stays back. Second, bring the arm across the body in a smooth arc. Third, finish with a sharp wrist snap that releases the disc and creates spin.
Demonstrate each phase slowly and have students mirror without holding a disc. This shadow practice lets them focus purely on body mechanics. Add the disc once students show competent dry runs.
2. Isolate the Wrist Snap
The wrist snap creates the spin that stabilizes flight. Have students hold the disc and practice snapping their wrist without moving their arm. They should hear a popping sound as the disc spins off their fingers.
Create a drill where students kneel and throw to a partner just five feet away. This position eliminates arm motion and forces reliance on wrist snap alone. Beginners quickly realize a strong snap sends the disc farther than expected.
Progress to standing throws from ten feet once students generate consistent spin from kneeling. Remind them that arm speed means nothing without proper wrist snap.
3. Use Step-and-Throw Drills
Set up partners fifteen feet apart. One holds the disc and focuses on stepping forward with purpose before throwing. The other catches and returns with the same intentional step. This drill connects footwork with upper body motion.
Count out loud to help students find rhythm. Say “step” as they move forward and “snap” when they release. Continue for several minutes until the motion becomes automatic.
Walk between pairs and offer specific feedback about what each student does well before mentioning improvements needed. Beginners need encouragement more than criticism during early development.
Step 4: Teach Catching Skills
1. Demonstrate the Pancake Catch
Show students how to catch by bringing both hands together from opposite sides, like clapping. The top hand has the thumb down while the bottom hand has the thumb up. This creates a secure grip that prevents slipping.
Emphasize that eyes must track the disc all the way into the hands. Many beginners look away at the last moment, and this causes most drops. Encourage watching until they feel the disc between their palms.
Stand ten feet from each student and throw soft, accurate passes to their chest. This controlled environment builds confidence before adding variables. Celebrate successful catches enthusiastically to reinforce positive feelings.
2. Add Movement to Catching
Have catchers take two steps forward or backward before the throw arrives. This simple movement requires adjustment during the catch. Students discover that catching while moving differs from catching while standing still.
Expand to lateral movement where catchers shuffle left or right. Throwers must lead receivers slightly so the disc arrives where they will be. This introduces timing concepts crucial for games.
Create a drill where one partner moves in random patterns and the other mirrors them. The thrower delivers the disc while both students move. This prepares students for constant motion during competitive play. You can also check out our guide on How to Teach Ultimate Frisbee in Middle School PE, so that you may have a clear structure that builds student confidence and skill development at every stage.
Step 5: Build Accuracy and Distance
1. Create Target Zones
Place markers at various distances from fifteen to thirty feet. Assign point values with closer targets worth less and distant targets worth more. Students throw five times and total their score.
This gamification motivates beginners who might lose interest during repetitive practice. Keep a class leaderboard that updates weekly to maintain engagement. Partner students with similar skill levels so competitions remain fair.
2. Progress Distance Gradually
Start at fifteen feet, where most beginners achieve consistent success. Add five feet only after students complete ten consecutive accurate throws. This prevents discouragement from attempting throws beyond current ability.
Some students advance faster than others, and that remains acceptable. Allow each student to work at their optimal challenge level. Celebrate when students reach new personal distance records, regardless of how they compare to classmates.
3. Add Time Pressure
Create a drill where throwers have only five seconds to catch and release. A partner counts down to simulate game conditions. Students learn to make quick decisions rather than taking excessive time to aim.
Progress to having a passive defender stand near the receiver with arms raised. This forces throwers to adjust trajectory without actual defensive pressure. The psychological element challenges students in new ways.
Step 6: Combine Skills in Games
1. Run Three-Person Weaves
Set up groups of three in a line. The middle person throws to one side player who has moved forward. That receiver immediately throws to the other side player. The drill continues with students weaving down the field.
This combines throwing and catching, and movement in a pattern that resembles gameplay. Start slowly and emphasize accuracy over speed. Many beginners rush and throw wild passes that break the rhythm.
2. Play Catch-and-Pivot Games
One player throws to a partner who must catch and establish a pivot foot before throwing back. Add a passive defender who counts to five. The catcher must pivot to face a different direction and complete the return throw before the count ends.
This teaches fundamentals while introducing basic strategy for creating throwing angles. Rotate positions frequently so everyone practices all roles. Exposure to different positions helps students understand how skills connect.
3. Start Mini-Games
Play two versus two on a field about twenty yards long. Teams score by completing five consecutive passes without drops. This removes end zone complexity while emphasizing core skills of throwing and catching.
Students learn to communicate about who should receive the next pass. Small team size means everyone touches the disc frequently. Games last only a few minutes, so multiple rounds keep energy high.
Step 7: Address Individual Needs
1. Identify Common Problems
Watch for students who throw on an angle rather than flat. This stems from improper wrist position at release. Have them practice releasing the level even if the distance suffers initially.
Some students struggle with timing the wrist snap to coincide with arm extension. Use video recording if available to show them exactly when their snap occurs compared to optimal timing.
Notice students who catch with stiff arms rather than giving slightly on contact. Demonstrate soft hands by catching and immediately pulling the disc toward the body to absorb impact.
2. Provide Extra Help
Pull aside students who fall behind and offer individual coaching. Sometimes a different explanation clicks where previous instruction failed. Ask what part confuses them most, rather than assuming you know their struggle.
Break skills into even smaller components for students who need extra help. Have them practice just grip and wrist snap without any arm motion. Once they master that isolated skill, add one element at a time.
Pair struggling students with patient peers who can offer encouragement. Peer teaching benefits both students because helpers reinforce their own knowledge by explaining concepts.
3. Modify Equipment
Consider giving certain students lighter or softer discs that fly more easily with less power. This allows them to experience success while building strength and technique. Gradually transition back to standard discs as confidence increases.
Never draw attention to modified equipment in ways that embarrass students. Present accommodations as normal options that help everyone learn effectively. Check out our guide on Simplified Ultimate Frisbee Rules for Schools for practical frisbee that works in real PE classes.
Step 8: Move Toward Independent Play
1. Use Practice Stations
Set up multiple stations where students practice specific skills at their own pace. One station focuses on throwing accuracy while another emphasizes catching moving discs. Students rotate every five minutes.
This variety prevents boredom while ensuring balanced practice. Post instruction cards at each station so students know what to practice without constant supervision. Circulate and offer feedback, but encourage independent problem-solving first.
2. Create Skill Checklists
Make a checklist of skills students must demonstrate before advancing to full games. Include items like complete ten consecutive accurate throws from twenty feet or catch fifteen moving passes without drops.
This self-paced approach accommodates different learning speeds while maintaining clear standards. Fast learners stay challenged while slower learners avoid the pressure of keeping up. Each student focuses on personal improvement.
3. Begin Modified Games
Once most students demonstrate basic competence, start three-versus-three games with simplified rules. Remove complex elements like stall counts or strict travel enforcement. Focus purely on completing passes and working together.
These games let students apply skills in authentic contexts without overwhelming pressure. Gradually reintroduce standard rules as students show readiness. The progression from drills to modified games to regulation play creates a smooth path.
Best Equipment For Teaching Throwing and Catching
Having the right equipment makes a real difference when teaching beginners. The tools you choose can help students feel more comfortable, stay safer, and build skills faster — especially in those early sessions when confidence is still developing.
1. Refresh Sports Lightweight Soft Flying Disc
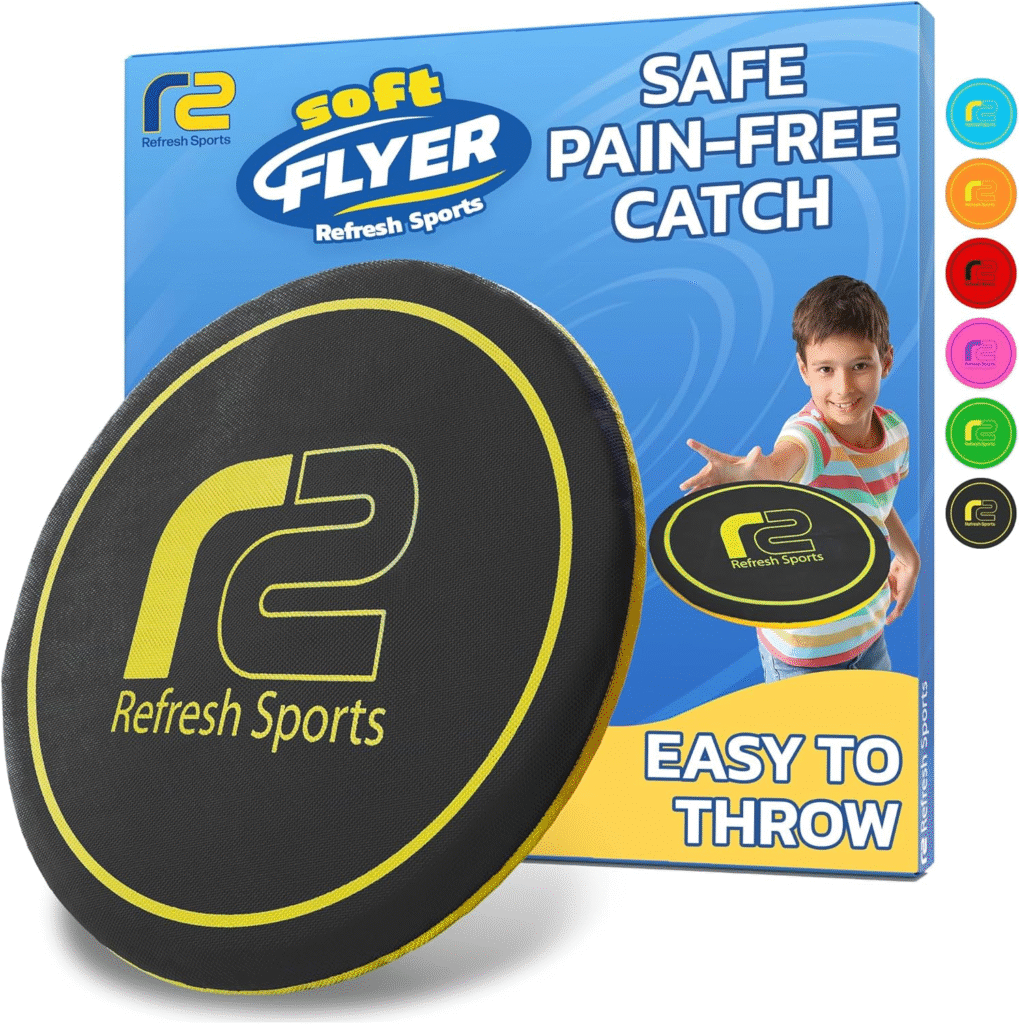
When students are handling a disc for the very first time, equipment that feels manageable makes a genuine difference in how quickly they progress through the grip and throwing mechanics covered in Steps 1 and 2. This disc’s forgiving weight and soft construction mean students attempt catches without hesitation, which keeps early sessions productive rather than frustrating.
Best for: Beginners and younger students in PE classes
Why It Stands Out:
- Soft construction removes fear of impact for first-time throwers
- Lightweight feel makes grip and release easier to learn correctly
- Durable enough to withstand the repeated drops that come with beginner practice
- Ideal for indoor or outdoor PE sessions where safety matters most
2. Sunnyglade 4 Pack 15.5-inch Collapsible Traffic Cones
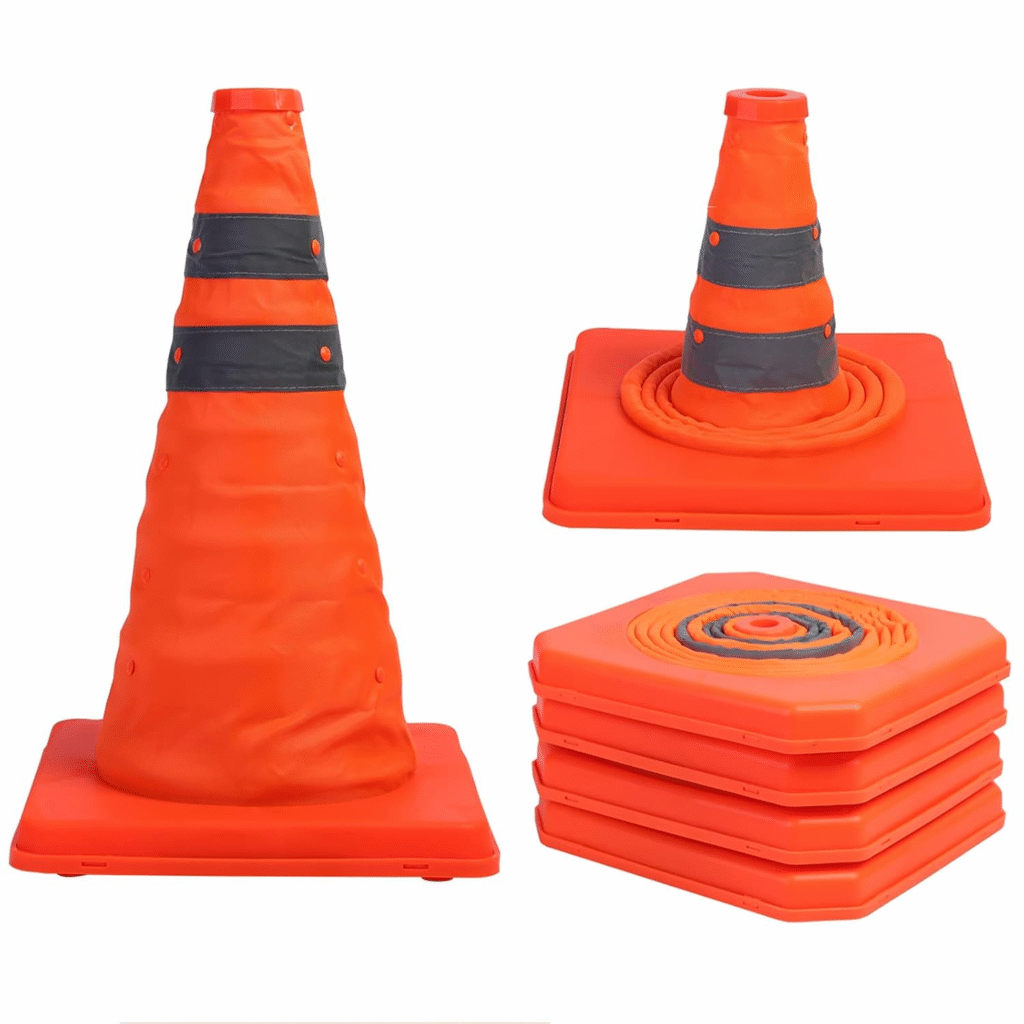
The accuracy stations and distance progressions in Step 5 require clear, repositionable markers that students can read at a glance. These cones set up quickly between activities, hold their position reliably on grass or gym floors, and store compactly when class ends, practical qualities that matter when you are managing a full class across multiple drill stations simultaneously.
Best for: PE teachers running distance drills and target zone activities
Why It Stands Out:
- Bright orange color keeps target zones clearly visible during fast-paced drills
- Collapsible design means setup and breakdown take under two minutes
- Lightweight enough for students to reposition between station rotations
- Ideal for structuring the mini-game fields used in Step 6
3. Boyiee Pinnies Scrimmage Vests
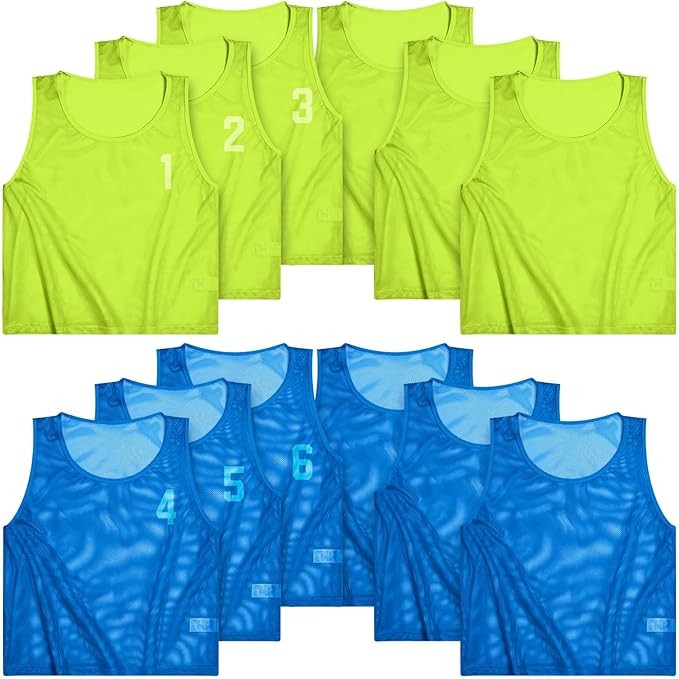
Once students move into the two-versus-two and three-versus-three game formats in Steps 6 and 8, clear team identification removes one source of confusion so students can focus on applying their throwing and catching skills. These vests are straightforward to distribute, comfortable enough for sustained wear, and adjustable enough to fit the range of body types in a typical middle school class.
Best for: Teachers organizing team games and modified scrimmages
Why It Stands Out:
- Breathable fabric keeps students comfortable during high-movement drills
- Adjustable sizing fits the wide range of body types in a middle school class
- Vivid colors reduce hesitation during fast passing sequences
- Ideal for any modified game format where quick team recognition matters
Conclusion – A Few Final Words!
Teaching throwing and catching to complete beginners demands careful planning and patient execution of each progressive step. Every stage builds essential skills while preparing students for the next level of complexity. Teachers who avoid rushing through fundamentals create confident students who genuinely enjoy playing with a disc.
The key involves meeting students where they are and providing appropriate challenges that stretch without overwhelming. Some progress quickly while others need more time, and both paths remain equally valid. Individual growth matters more than uniform advancement because every student deserves the chance to develop at their own comfortable pace.
Bringing structure and confidence to your PE classes becomes much simpler with the free Middle School PE Unit Plan. Instead of guessing what to teach, you’ll have a clear plan that guides each lesson from start to finish. The curriculum focuses on Ultimate Frisbee and explains key skills such as throwing, catching, and game strategy in a way that suits middle school students. It also includes engaging activities that strengthen teamwork and physical fitness, along with practical ideas for organizing scrimmages that encourage sportsmanship and inclusion.
