
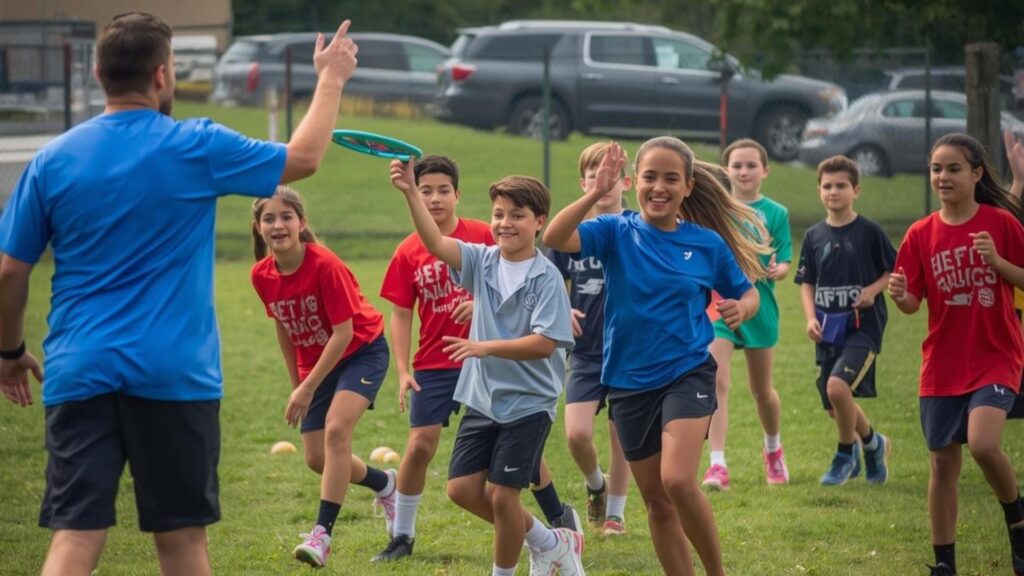
Teaching Ultimate Frisbee in middle school physical education can feel intimidating if you have never played the sport yourself. Many PE teachers hesitate to introduce Ultimate because they are unsure about the rules, how to teach throwing skills, or how to manage large classes during gameplay.
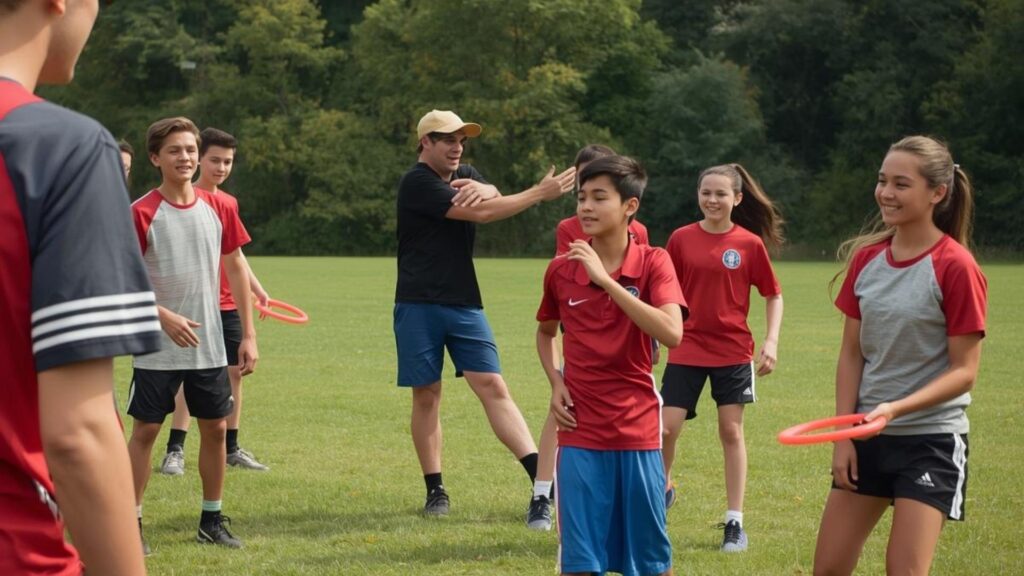
The good news is that Ultimate Frisbee is one of the most adaptable and inclusive team sports you can teach in a school setting. It promotes teamwork, communication, cardiovascular fitness, and sportsmanship while keeping students consistently engaged. Because the sport is self-officiated, it also creates powerful opportunities to teach responsibility and leadership.
This step-by-step guide provides a complete progression you can follow across a 2–3 week PE unit. From introducing the basic concept to running small-sided games and full matches, you will have a clear structure that builds student confidence and skill development at every stage.
Spending too much time building PE lessons from zero?
You don’t have to start from scratch every unit. Download our free Middle School Ultimate Frisbee PE Unit Plan a complete, classroom-ready curriculum with structured drills, skill progressions, and game-ready activities built specifically for middle school PE teachers.
Walk into every class fully prepared and watch your students go from first-time disc holders to confident players.
Suggested 3-Week Ultimate Frisbee Unit Structure
Week 1: Foundations
• Day 1: Introduction to Ultimate + basic rules + backhand grip
• Day 2: Backhand throwing drills and partner practice
• Day 3: Catching skills (pancake catch and movement drills)
If you’re looking to teach throwing and catching to students who have never played before, check out our comprehensive step-by-step guide here.
Week 2: Movement and Small-Sided Games
• Day 1: Pivot foot and travel rules
• Day 2: 3v3 small-sided games
• Day 3: Defensive positioning and 4v4 games
Week 3: Game Play and Assessment
• Day 1: Review skills and strategy
• Day 2: Full games with rule reinforcement
• Day 3: Assessment and reflection
Step 1: Introduce the Basic Concept
Start your first class with a simple explanation that ultimate frisbee combines elements from soccer and football. Tell students they will work with teammates to move a disc down the field and catch it in an end zone to score points. Show them the playing area and point out the boundaries and scoring zones.
Keep this introduction brief because middle schoolers learn better through action than lengthy explanations. Use simple language and avoid overwhelming them with every rule at once. Focus on the main objective first and add details as the unit progresses.
You may also teach students that ultimate frisbee uses a self-officiating system where players call their own fouls and violations. Explain that this requires honesty and respect for opponents because no referees will make calls for them. Students must trust each other to play fairly and resolve disputes through calm discussion.
Step 2: Teach the Backhand Throw
1. Demonstrate Proper Grip
Show students how to hold the disc with their thumb on top and four fingers spread underneath the rim. The index finger should extend along the edge while the other fingers curl around to provide support. This grip gives throwers control and power while it allows for a clean release.
Walk around the class and check each student’s grip individually. Middle schoolers often need hands-on correction because they try to hold the disc like a plate or grab it incorrectly. Take time to ensure everyone starts with the proper foundation before moving forward.
Have students practice the grip by picking up the disc and setting it down repeatedly. This simple repetition builds muscle memory and makes the correct grip feel natural. Students should be able to grab the disc quickly without thinking about finger placement.
2. Practice the Throwing Motion
Position students in two lines facing each other about ten feet apart. Demonstrate the backhand motion by stepping forward with the non-dominant foot and swinging the arm across the body. Emphasize the wrist snap at the end that gives the disc spin and stability.
Tell students to keep the disc level to the ground during release. A tilted disc will curve or wobble in flight. Have them practice releasing the disc level even if the distance suffers initially.
Start the partner throwing drill and walk between pairs to offer feedback and encouragement. Look for common mistakes like gripping too tightly or forgetting to snap the wrist. Correct these issues immediately before bad habits form.
3. Progress to Accuracy Drills
Once students can complete ten consecutive throws and catches with their partner, move them back to fifteen feet. Gradually increase the distance as they demonstrate consistency and control. Some pairs will advance faster than others, so allow differentiation based on skill level.
Create target zones using cones or markers and challenge students to hit specific areas. Award points for accuracy and track progress on a class chart. This gamification motivates middle schoolers to improve while it provides measurable goals.
End this step when most students can throw a backhand twenty feet with reasonable accuracy. This typically takes two to three class sessions, depending on prior experience and practice time available.
Step 3: Develop Catching Skills
1. Teach the Pancake Catch
Show students how to catch the disc by clapping both hands together on either side of it, like making a sandwich. This technique works for throws that come straight at chest level. The top hand should have the thumb down while the bottom hand has the thumb up.
Practice without movement first. Stand ten feet away and throw soft, accurate passes to each student individually. Coach them to watch the disc all the way into their hands and squeeze firmly once contact occurs. Many drops happen because students look away too early.
Move to partner drills where students throw back and forth while they focus on proper catching form. Encourage them to call out “pancake” each time they make a clean catch. This verbal reinforcement helps cement the technique in their memory.
2. Introduce One-Handed Catches
Demonstrate catches for throws above the head or to the side where two hands cannot reach. The thumb should point down for catches above shoulder height and up for catches below the waist. Students should extend fully and secure the disc against their body after initial contact.
These catches require more athleticism and timing, so expect more drops during practice. Reassure students that difficulty is normal and improvement comes with repetition. Set up drills where throwers deliberately aim high or to the side so catchers must stretch.
Have students alternate between being the thrower and catcher every few minutes. Both roles teach important lessons about leading receivers and adjusting to imperfect throws.
3. Add Movement to Catching Drills
Create a simple pattern where one student stands still and throws while their partner runs to different spots to receive. The runner should make eye contact before cutting to signal readiness for a pass. This simulates game conditions where players must catch while moving.
Progress to both partners moving, where they take turns cutting and throwing. This dynamic drill prepares students for the constant motion they will experience during actual games. Emphasize communication and timing between partners.
Complete this step when students can catch a variety of throws while moving at a moderate speed. This foundation allows them to participate meaningfully in modified games.
Step 4: Learn Movement Rules
1. Practice the Pivot Foot Concept
Explain that players must stop completely when they catch the disc and establish a pivot foot that stays planted. They can move the other foot freely to change direction, but lifting the pivot foot counts as a travel violation. Demonstrate by catching the disc and showing legal and illegal movements.
Have students practice this without throwing by simply holding a disc and pivoting in different directions. They should feel comfortable changing their body position while keeping one foot grounded. This isolated practice prevents confusion when multiple elements combine during gameplay.
Set up a drill where students catch a pass and must pivot to face a different direction before throwing to the next person. This reinforces the rule while it adds a practical application. Watch carefully for travels and correct them with positive feedback.
2. Teach the Ten-Second Count
Demonstrate how defenders guard the thrower and count to ten out loud to create time pressure. If the thrower still holds the disc when the defender reaches ten, then possession changes. The count must be audible and at a reasonable pace.
Practice with students working in groups of three, where one person throws, and one defends, while the third receives. The defender should stand one disc length away and count clearly. Rotate positions after each throw so everyone experiences each role.
Explain that good teams help their thrower by cutting to open spaces before the count reaches ten. This rule creates urgency and prevents players from holding the disc too long while they search for perfect opportunities.
Step 5: Play Small-Sided Games
1. Start with Three versus Three
Divide the class into small teams of three players each and set up multiple small fields with shortened end zones. Use a half-court or create fields about thirty yards long. These compact games keep everyone involved and reduce the distance students must throw.
Explain that the same rules apply, but on a smaller scale. Teams still cannot run with the disc and must catch in the end zone to score. Play short games to five points or ten minutes so multiple rounds can occur during one class period.
Circulate between fields and offer coaching tips during natural breaks in play. Point out good decisions and help students understand why certain strategies work better than others. Keep feedback specific and actionable.
2. Add Defensive Strategies
Teach students to mark their assigned player and move with them as they cut across the field. The defender should stay between their player and the thrower with their hands up to block passing lanes. Good defense requires footwork and anticipation rather than speed alone.
Demonstrate proper defensive positioning and have students practice before returning to games. This brief instruction helps them understand their responsibilities in defense. Many middle schoolers naturally cluster around the disc, so teaching player-to-player defense spreads them out appropriately.
Award points or recognition to teams that demonstrate strong defensive effort, even if they do not win. This reinforces that defense matters as much as offense.
3. Progress to Four versus Four
Increase team size to four players as students demonstrate competence in smaller games. The additional player adds complexity and requires better spacing and communication. Students must think more strategically about when to cut and how to create opportunities for teammates.
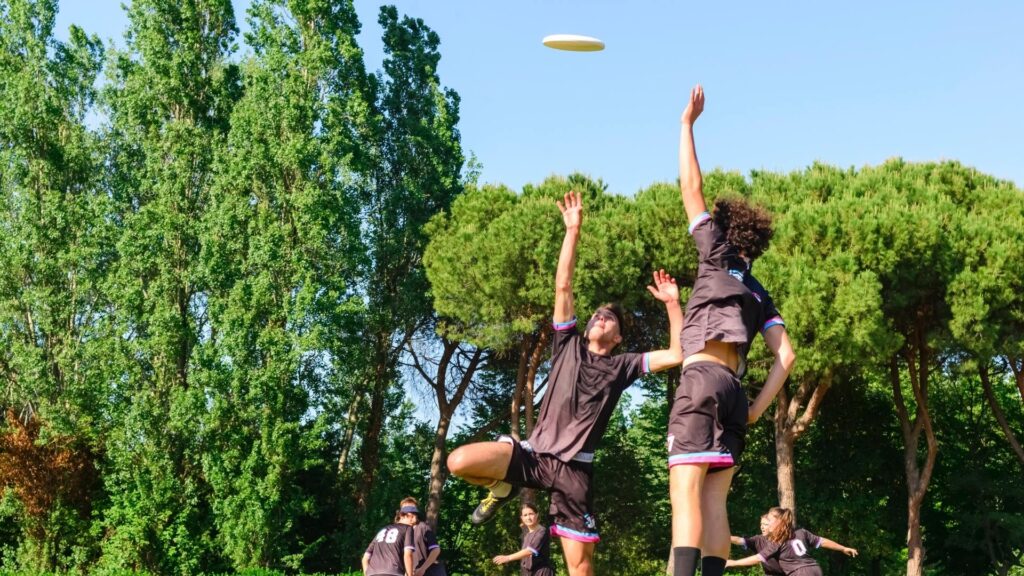
These larger games more closely resemble regulation ultimate frisbee while still maintaining high activity levels. Keep field dimensions similar to prevent teams from spreading too thin. Four players per team represent the sweet spot for middle school classes.
Step 6: Implement Full Games
1. Set Up Regulation-Style Play
Create one or two full-sized fields depending on class size and available space. Form teams of five to seven players and explain that games will follow all standard rules. Designate captains who handle the disc flip to determine which team receives first.
Review all rules one final time before starting play. Remind students about the Spirit of the Game and the importance of honest calls. Emphasize that you will step in only if disputes cannot be resolved through discussion.
Play games to eleven points or until fifteen minutes expire. This duration allows enough time for competitive play while it leaves room for multiple games if time permits. Keep score visible so teams know the current situation.
2. Rotate Team Compositions
Change team rosters every two or three class sessions to prevent stagnation and promote social connections across the class. Create new combinations that mix skill levels and friend groups. Students benefit from working with different personalities and playing styles.
Some students will protest roster changes because they prefer their current teammates. Explain that learning to adapt to different team dynamics represents an important life skill. The variety also prevents dominant players from taking over games.
3. Track Individual Progress
Create a simple assessment rubric that evaluates throwing accuracy and catching ability, along with game understanding and sportsmanship. Share this rubric with students so they know what standards they must meet. Provide feedback throughout the unit rather than only at the end.
Celebrate improvement over time rather than comparing students to each other. A student who starts with no frisbee experience and develops a reliable backhand deserves as much recognition as a natural athlete. This approach maintains motivation across all skill levels.
For more comprehensive teaching strategies, you can check out this ultimate frisbee teaching guide for middle school.
Essential Equipment to Teach Ultimate Frisbee Successfully
Teaching ultimate frisbee well does not require a large budget, but the right three pieces of equipment make every session run more smoothly and help students stay focused on learning rather than dealing with avoidable logistical problems.
1. Refresh Sports Lightweight Soft Flying Disc
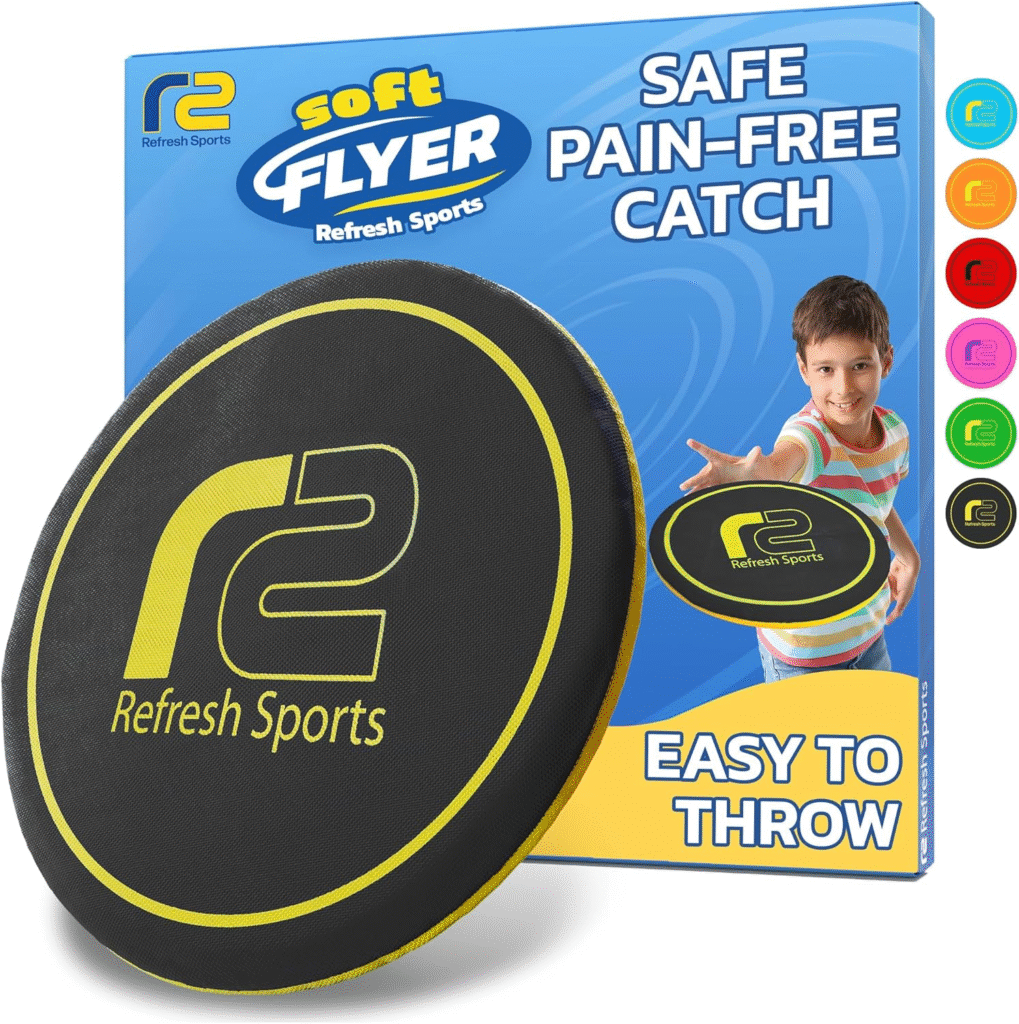
Best for: First-time players in middle school PE settings
Engineered for young players still developing their throwing mechanics, this disc’s soft and lightweight construction makes it approachable for even the most hesitant beginners. Its consistent, stable flight helps students focus on refining their form without battling unpredictable disc behavior. Durable enough to survive a full semester of daily PE use, it transitions seamlessly from grip drills in Step 2 all the way through full-game play in Step 6.
- ✔️ Soft material builds confidence in reluctant first-time throwers
- ✔️ Stable flight supports accurate form development
- ✔️ Durable construction withstands heavy classroom use
- ✔️ Ideal for both indoor and outdoor PE sessions
2. Sunnyglade 4 Pack 15.5 inch Collapsible Traffic Cones
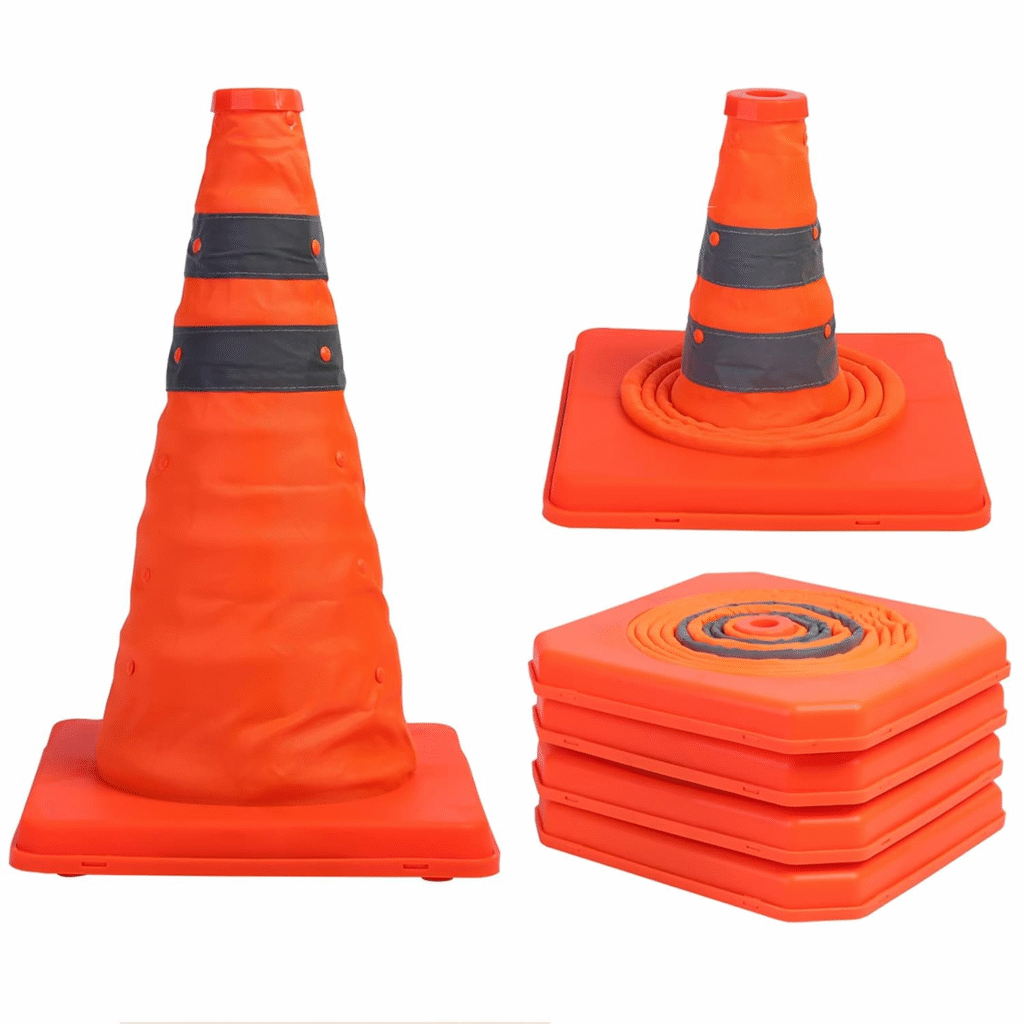
Best for: Setting up target zones, end zones, and field boundaries
These collapsible cones are purpose-built for the kind of rapid reconfiguration that a multi-week PE unit demands. From accuracy target zones in Step 2 to full end zone layouts in Step 6, they define your playing space clearly without slowing down transitions between activities. Compact enough to store in a single bag and bright enough to stay visible during active gameplay, they are a straightforward solution for keeping every session organized.
- ✔️ Rapid setup keeps lesson transitions smooth and efficient
- ✔️ High-visibility color maintains clear boundaries during gameplay
- ✔️ Compact storage makes them easy to transport between fields
- ✔️ Versatile enough for every drill configuration in the unit
3. Boyiee Pinnies Scrimmage Vests
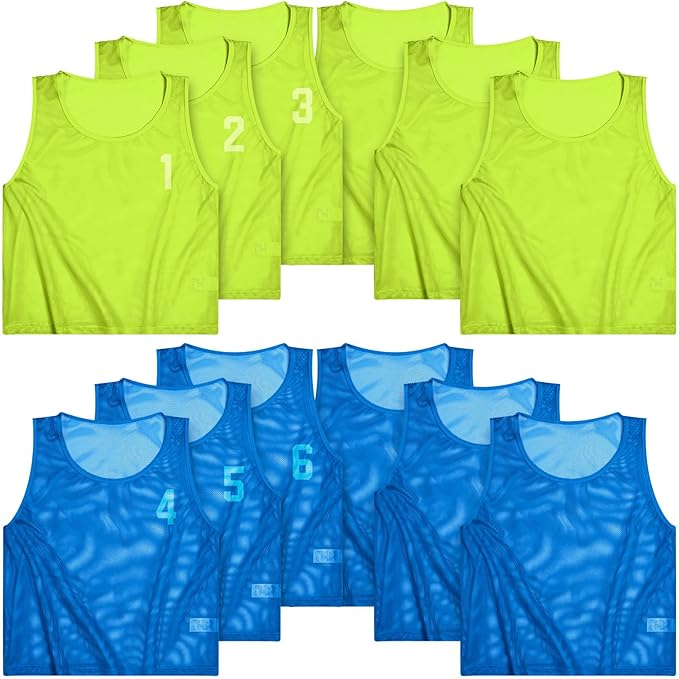
Best for: Team identification during small-sided games and full scrimmages
When students move into the 3v3 and 4v4 formats in Step 5, clear team identification keeps games flowing without constant interruptions to clarify who is on which side. These lightweight vests deliver that clarity immediately with distinct, vivid colors that are readable from across the field. Comfortable enough for sustained wear and sized to fit a wide range of middle schoolers, they hold up reliably across a full three-week unit of daily outdoor use.
- ✔️ Distinct colors eliminate team confusion in fast-paced games
- ✔️ Lightweight fabric ensures comfort during active play
- ✔️ Adjustable fit works across diverse middle school body types
- ✔️ Reliable durability across a full multi-week PE unit
Why Ultimate Frisbee Works in Middle School PE
Ultimate Frisbee is an excellent addition to middle school physical education programs due to its inclusivity, simplicity, and emphasis on teamwork. The sport requires minimal equipment, a Frisbee, and an open space, which makes it easy to implement in schools with varying resources. Ultimate Frisbee is also self-regulated, relying on the “Spirit of the Game,” which encourages players to resolve disputes collaboratively, teaching important conflict resolution skills.
Additionally, the game is non-contact and adaptable to all skill levels, ensuring that students of varying athletic abilities can participate without fear of injury or exclusion. These qualities make Ultimate Frisbee an ideal choice for fostering physical and social development in middle school students.
Conclusion – The Bottom Line!
Teaching ultimate frisbee through a step-by-step progression gives middle school students the foundation they need to succeed and enjoy this dynamic sport. Each step builds on previous learning while it introduces new challenges at appropriate times. Teachers who follow this structured approach will find that students develop competence and confidence throughout the unit.
The key to success lies in patience and positive reinforcement as students master each new skill before moving forward. Some classes will progress faster than others, and that remains completely acceptable. The goal involves creating an inclusive environment where every student participates and grows. Ultimate frisbee offers the perfect vehicle for teaching physical skills alongside character development. Students who experience a well-taught ultimate frisbee unit often request it again in future years because they remember both the fun and the valuable lessons learned.
If you want everything from this guide organized and ready to teach, the free Middle School PE Unit Plan can make your classes much easier to manage. It provides a clear roadmap so you can step into each lesson knowing exactly what to do next. Inside, you will find a complete Ultimate Frisbee curriculum designed for middle school students, along with lesson plans that cover throwing, catching, movement rules, and basic strategy. The guide also includes fun drills that build teamwork, communication, and fitness, as well as helpful tips for running scrimmages in a positive and inclusive environment.
