

Ultimate Frisbee is a fast-paced team sport that combines elements of soccer, football, and basketball, but played with a flying disc. Many PE teachers feel intimidated introducing it because they have never played before. This guide provides everything you need to confidently teach Ultimate to middle school students, from basic rules to organizing full PE lessons.
What Is Ultimate Frisbee?
Ultimate Frisbee is a non-contact team sport where players score points by catching a disc in the opposing team’s end zone. Teams typically have seven players per side in competitive games, but in PE classes, you can adjust numbers based on your students. Players cannot run while holding the disc; instead, they pivot like in basketball.
Possession changes after a dropped pass, interception, or if the disc goes out of bounds. Games emphasize fair play and honesty, so no referees are required in PE settings. Think of it as a mix of passing, catching, and strategic movement—perfect for classroom-level introduction.
Why Ultimate Is Great for Middle School PE
Ultimate is ideal for middle school students because it combines fitness, teamwork, and personal responsibility. The sport encourages continuous movement, improving cardiovascular endurance, arm strength, and coordination.
It is inclusive, allowing students of all skill levels to participate and contribute meaningfully. Gender inclusivity is also a benefit, as boys and girls can play together on the same team. Teamwork develops naturally through passing, communication, and spatial awareness, while the “Spirit of the Game” encourages honesty, self-officiating, and respect—critical social skills for this age group.
Beyond physical benefits, Ultimate teaches strategic thinking. Students must anticipate where teammates will move, time their passes appropriately, and adjust positioning based on defensive pressure. These cognitive elements make Ultimate engaging even for students who may not consider themselves “athletic” in traditional sports.
If creating this kind of structured session feels time-consuming, having a ready-made framework removes the stress. Feeling overwhelmed planning your PE classes?
Stop spending hours creating lessons from scratch. Download our free Middle School Ultimate Frisbee Lesson Plan and walk into class fully prepared with structured drills, skill progressions, and game-ready activities.
Equipment Needed for PE Class
You don’t need much to start teaching Ultimate, but having the right equipment in appropriate quantities makes a significant difference in class flow and student engagement. The gear you choose directly impacts how smoothly your lessons run and how quickly students develop proper technique.
Ultimate Discs (Official or Practice)
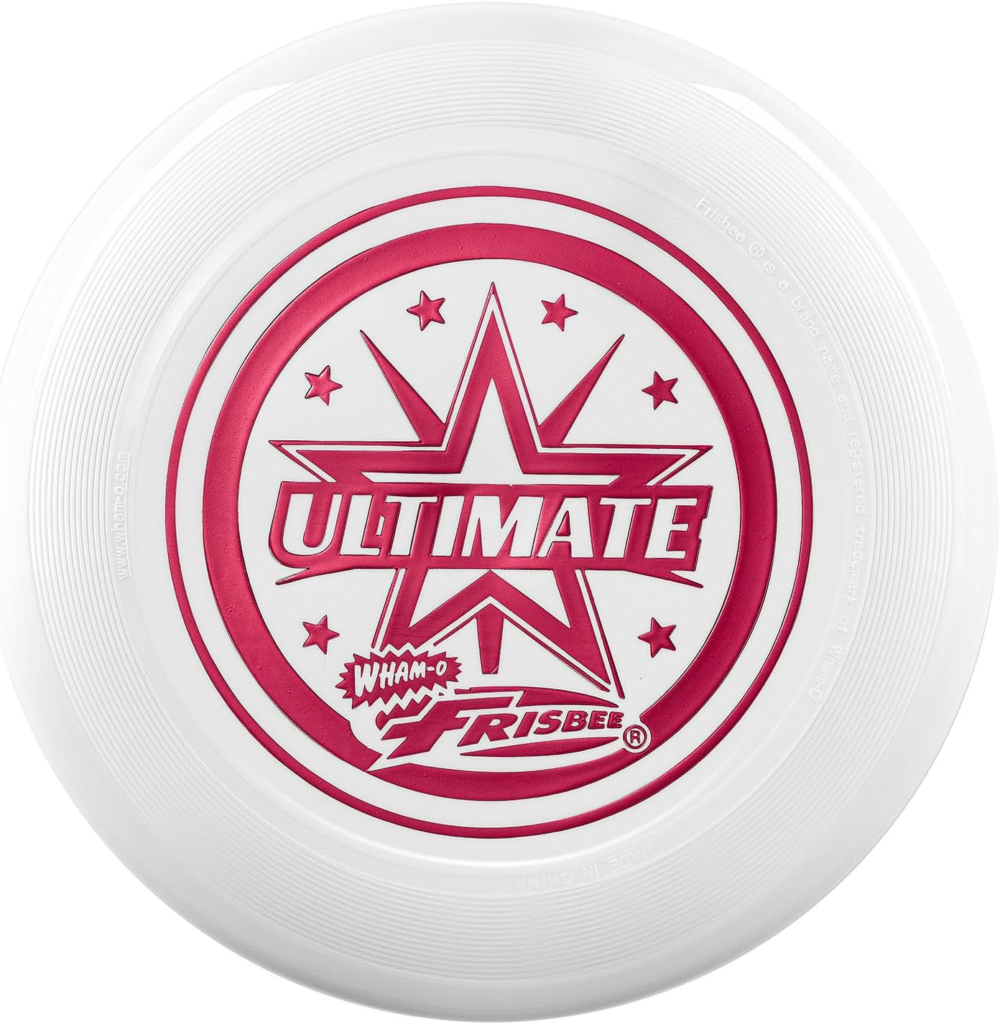
The foundation of your program. Official Ultimate discs weigh 175 grams and fly predictably, making them ideal for teaching proper technique. For a class of 30 students, have at least 8-10 discs available. This allows multiple small-sided games to run simultaneously and provides backup discs when some inevitably fly over fences or onto roofs. Practice discs are lighter and can work for younger middle schoolers still developing arm strength, though they fly differently than regulation discs.
Best for: PE classes and beginner-level instruction
The Discraft Ultra-Star 175g Flying Disc is the official disc of USA Ultimate and the gold standard for teaching proper throwing mechanics. It’s especially useful for middle school PE classes where you need consistent flight patterns that help students learn correct form.
Why It Stands Out:
✔️ Official weight (175g) teaches proper throwing technique from day one
✔️ Durable construction withstands drops on pavement and rough handling by beginners
✔️ Predictable flight pattern helps students understand spin, angle, and release timing
✔️ Weather-resistant plastic performs consistently in light wind and various temperatures
Unlike lighter practice discs that wobble or fly unpredictably, the Ultra-Star gives students immediate feedback on their technique. When they throw correctly, the disc rewards them with a straight, stable flight. If you’re building a PE program that develops real skills rather than just recreational tossing, this is the disc that delivers results.
Cones (20-30 minimum)
Cones define boundaries, end zones, and drill stations. For a standard PE class, you’ll need at least 20-30 cones: 8 for marking two end zones, 8-12 for sideline boundaries, and extras for drill stations. Brightly colored cones improve visibility and help students stay oriented during fast gameplay. The 9-inch size works well for outdoor fields while being easy to store.
Best for: Field setup and multi-station PE classes
The REEHUT Agility Training Cones (Set of 50) give you more than enough markers to run multiple drills simultaneously while clearly defining game boundaries. They’re especially useful for managing large PE classes where you need several stations running at once.
Why It Stands Out:
✔️ Set of 50 provides enough cones for 3-4 simultaneous drill stations plus full field boundaries
✔️ Bright orange color ensures visibility across outdoor fields and indoor gyms
✔️ Durable plastic withstands being stepped on during fast gameplay
✔️ Stackable design makes storage and transport between classes effortless
Unlike cheap cones that crack or blow away in light wind, these stay put and last through entire school years. When you’re teaching 30+ students and need to rotate them through multiple stations efficiently, having plenty of visible, durable markers eliminates confusion and keeps transitions smooth.
Basic Rules Simplified for Students
To teach ultimate frisbee to middle schoolers, simplify the Ultimate rules so they are easy to remember. Students cannot run while holding the disc; they must pivot with one foot planted like in basketball. The disc moves only by passing to teammates—no carrying allowed.
A turnover occurs if the disc is dropped, intercepted by the defense, or goes out of bounds. The opposing team takes possession wherever the turnover happened. Students score by catching the disc cleanly in the opponent’s end zone—one point per score, then teams switch directions.
No physical contact is allowed. Defenders must stay at least one arm’s length away from the thrower (this is called the “stall count” distance). If contact occurs, players call their own fouls and replay the point.
Reinforce the concept of the “Spirit of the Game,” emphasizing honesty, respect, and self-officiating. The goal in PE is to create a fun environment where students enjoy moving and working together rather than worrying about competition.
How to Teach Ultimate Frisbee Throwing (Step-by-Step Progression)
Teaching throwing technique requires patience and progression. Don’t rush—most students have thrown frisbees casually at parks but lack proper form. Breaking down mechanics step-by-step prevents bad habits.
Backhand Throw (Days 1-2)
Grip: Start with the basic backhand throw. Teach ultimate frisbee grip with thumb on top and fingers underneath, spread across the disc’s inner rim. The index finger should extend slightly along the rim for stability. Have students practice just the grip, checking each student individually.
Stance and Body Position: Students should adopt a stance with the non-throwing foot forward and knees slightly bent, similar to an athletic ready position. Weight starts on the back foot and transfers forward during the throw. The disc should be held at waist level, with the throwing arm bent at 90 degrees.
Throwing Motion: Bring the disc back across the body, keeping it level. Step with the opposite foot while swinging the throwing arm forward. Snap the wrist at the release point and follow through toward the target, with the arm finishing extended and pointing at the receiver. The disc should spin clockwise (for right-handers) and fly flat, not wobbling.
Begin with short passes of 10-15 feet and gradually increase the distance as confidence grows. Emphasize flat, spinny throws over distance initially.
Forehand Throw (Days 3-4)
Grip: For the forehand throw, students place two fingers (index and middle) under the rim with the thumb on top for pressure. The disc sits in the V between thumb and fingers. This grip feels awkward at first—normalize the discomfort and encourage practice.
Stance and Motion: The throwing shoulder should point toward the target while keeping the elbow close to the body—this prevents “sidearm” throws that sail high. The motion is similar to skipping a stone across water. A quick wrist flick generates spin, improving accuracy and distance. The follow-through should have the palm facing down toward the ground.
Start with short throws of 8-10 feet, even shorter than backhand progression. Forehand throws require more wrist strength, which middle schoolers are still developing. Gradually extend the range over multiple class periods.
Common Mistakes and Corrections
Holding the disc too long before passing is common. Encourage quick decision-making through timed passing drills. Use a verbal countdown (5-4-3-2-1) to create urgency.
Stepping while throwing, also called traveling, happens frequently. Practice pivot drills where students catch, establish a pivot foot, and throw without moving that foot. Mark pivot spots with small cones.
Overthrowing or underthrowing targets is expected with beginners. Set up target zones with cones and reward accuracy over distance. Create scoring systems: 3 points for chest-height catches, 2 points for catchable but not perfect, 1 point for completion.
Wobbly throws are almost always a grip or wrist snap issue. Check that thumbs are pressed firmly and wrists snap through the release. Film students on tablets if available—visual feedback accelerates learning.
Detailed Drill Examples for Skill Development
Drills should be short, focused, and high-repetition. Aim for each student to get 15-20 touches per 10-minute drill rotation.
Drill 1: Triangle Passing (5-7 minutes)
Setup: Groups of 3 students forming a triangle, each point 12-15 feet apart. One disc per group.
Execution: Students pass in a set pattern (A to B to C to A) using only backhand throws. After 2 minutes, switch to forehand only. Then allow free choice of throw. Emphasize crisp passes, calling the receiver’s name before throwing, and immediate movement after throwing (don’t stand still).
Progression: Increase triangle size to 20 feet. Add a defender in the middle who can intercept but not block throws. The passer must make eye contact with receiver before throwing.
Teaching Points: Focus on communication (“Disc!” or receiver’s name), quick releases, and throwing to the receiver’s chest level.
Drill 2: Pivot and Throw (5 minutes)
Setup: Partners facing each other, 15 feet apart. One disc per pair.
Execution: Student A throws to Student B. Student B catches, establishes a pivot foot (call out “LEFT!” or “RIGHT!” to identify which foot), pivots 180 degrees, and throws back to A. Switch pivot feet every 5 throws.
Progression: Add a passive defender who stands with arms up but doesn’t attempt interceptions. The thrower must pivot to create throwing angles around the defender.
Teaching Points: Emphasize planting the pivot foot immediately upon catching. The pivot foot cannot slide or lift until after the throw. Practice both clockwise and counterclockwise pivots.
Drill 3: Give-and-Go (7-10 minutes)
Setup: Lines of 4-5 students at one end zone. Cones placed 10, 20, and 30 feet downfield. One disc per line.
Execution: First student throws to second student at the 10-foot cone. First student immediately runs toward the 20-foot cone calling for the disc. Second student throws, then runs to the 30-foot cone. Pattern continues downfield until someone catches in the end zone. Group resets and repeats.
Progression: Add a passive defender trailing the lead runner. Increase field length. Require specific throw types (all backhand, then all forehand).
Teaching Points: Throw ahead of the runner’s movement—lead them like a football pass. Communicate loudly. After throwing, immediately look for the next open space.
How to Organize a 60-Minute PE Class
A typical Ultimate PE class starts with a 10-minute warm-up, including light jogging and dynamic stretches such as high knees, arm circles, side shuffles, and walking lunges. Add disc-specific movements: wrist rotations, arm swings, and practicing catching motions.
Follow this with 15 minutes of skill development, focusing on backhand and forehand throws, pivoting, and short passing drills. Use the drills outlined above, rotating students through 2-3 different stations to maintain engagement.
Small-sided games, lasting around 20 minutes, allow students to practice in 3v3 or 4v4 groups, ensuring everyone touches the disc frequently. Rotate students every 5-7 minutes to mix up competition levels and maintain engagement. Use music or a timer to signal rotations.
Finish with a 15-minute full game using simplified rules. Combine multiple small groups into 7v7 or adjust based on field size and class numbers. Emphasize self-officiating and fair play throughout the session. Conclude with a 2-3 minute cool-down and brief reflection on what students learned.
Managing Large Classes (30+ Students)
Large PE classes require strategic planning to ensure maximum participation and minimize standing around. Here are practical management strategies that work.
Station Rotations
Divide students into 4-5 groups of 6-8 students. Set up stations with different focus areas: throwing accuracy with target practice using cones or hula hoops, 3v3 mini-games, catching drills including high catches, low catches, and running catches, pivot and defense practice, and conditioning with shuttle runs and agility work between gameplay.
Rotate every 8 minutes. This keeps energy high and provides varied practice.
Multiple Fields
If space allows, create 2-3 smaller fields rather than one large field. Use cones, lines, or natural boundaries. Smaller fields mean more touches per student and faster-paced games. Assign student leaders or skilled students to monitor each field for safety and basic rules.
Color-Coded Teams
Invest in pinnies in 4-6 different colors. Pre-assign students to color groups at the start of the unit (not just each class). This eliminates the daily “pick teams” time drain and creates mini-communities within your large class. Students quickly identify teammates and remember matchups from previous classes.
Student Leadership Roles
Assign rotating leadership roles each class: Equipment Managers who distribute and collect discs and cones (2 students), Field Captains who lead warm-ups and monitor one game area (3-4 students), Spirit Captains who watch for excellent sportsmanship and report at the end of class (2 students), and Rule Enforcers who help clarify rules during games without being authoritarian (2 students).
This distributes responsibility and gives students ownership of the learning environment.
Teaching Spirit of the Game in School
Spirit of the Game is central to Ultimate and differentiates it from other sports. This concept can be challenging for middle schoolers accustomed to adult-officiated sports, but it’s also incredibly valuable.
Introducing the Concept
On Day 1, explain Spirit of the Game clearly: “Ultimate is built on honesty and respect. There are no referees in this sport—you call your own fouls. If someone bumps into you, you say ‘foul’ and we discuss it. If you bump someone, you admit it. Winning by cheating isn’t winning at all.”
Connect it to real life: “This is practice for making good choices when no one is watching. It’s about who you are as a person, not just as a player.”
Encouraging Fair Play in Action
During games, actively recognize fair play. Say things like “I just saw Maria call a foul on herself—that’s Spirit of the Game!” or “Excellent job talking through that conflict, Team Blue” or “That was a close call, but you both agreed to replay the point. Perfect.”
Create a “Spirit of the Game Scoreboard” separate from points scored. Award tallies for honest foul calls, helping opponents up, admitting mistakes, and respectful disagreement resolution. At unit end, recognize the team or individual with the highest Spirit score.
Handling Conflicts
When disputes arise (and they will), don’t rush in to referee. Pause play and facilitate by asking each player to explain their perspective, clarifying the rule together, asking players to suggest a fair solution, and implementing their solution even if you’d rule differently.
This teaches conflict resolution far better than authoritarian rulings. Only intervene if students cannot reach consensus after 30-45 seconds.
Frequently Asked Questions
You can introduce the basics of Ultimate in just one or two PE periods. In the first class, focus on simple throwing skills, catching technique, and core rules such as no running with the disc and non-contact play. By the third or fourth lesson, most middle school students understand positioning, basic offense, and game flow. A short 2–3 week unit allows you to build skills gradually while keeping students engaged.
Yes, beginners can absolutely play Ultimate. The sport welcomes all skill levels because the rules are simple and the focus stays on teamwork and fair play. Even students with no throwing experience improve quickly with short drills and small-sided games.
Divide students into small teams and create multiple mini-fields. Rotate groups every few minutes to keep everyone active. Clear boundaries, simple rules, and student leaders help maintain structure and reduce downtime.
Teaching Ultimate in PE requires very little equipment. A few quality discs, cones to mark end zones, and open field space are usually enough. A standard 175-gram disc, commonly used in games organized by USA Ultimate, works well for most students. Pinnies or colored bibs also help separate teams during gameplay.
Students cannot run while holding the disc and must pass it to teammates to move down the field. A point scores when a player catches the disc inside the end zone. Ultimate also emphasizes fair play and non-contact rules.
Yes, Ultimate Frisbee is generally safe because it is non-contact. Clear rules and proper spacing help reduce the risk of collisions.
Final Section: Free Ultimate PE Lesson Plans
Teaching Ultimate in middle school PE can be straightforward and rewarding, even if you have never played before. Starting with basic skills, small-sided games, and emphasizing Spirit of the Game allows students to build confidence, teamwork, and coordination.
Ready to make your Ultimate Frisbee unit even easier? Get instant access to our free Ultimate PE lesson plan library with ready-to-use 60-minute class plans, drill progressions, printable handouts, and video demonstrations.
Large classes don’t become manageable by chance — they become manageable by design. Sign up using the form below to receive our free 60-minute Ultimate Frisbee PE lesson plans, drill progressions, and classroom-ready resources designed specifically for beginner middle school teachers. These plans are based on real-world coaching experience and structured for immediate classroom use.
