

Teaching ultimate frisbee in middle school PE creates excitement that few other units can match. Students who normally drag their feet during warm ups suddenly come alive when you pull out the discs.
The sport combines elements that middle schoolers crave: teamwork, competition, and the chance to throw things without getting into trouble. This 2-week ultimate frisbee unit plan breaks down exactly what to teach each day, how to progress skills logically, and how to keep every student engaged regardless of their athletic ability.
Whether you’re introducing ultimate frisbee for the first time or refining an existing programme, this structured approach ensures students develop real skills while having fun.
What You Need Before Starting the 2-Week Unit
Equipment Checklist
The right equipment makes or breaks your ultimate frisbee unit plan for middle school. You’ll need one disc for every four to five students, which translates to about six to eight discs for a typical class of 30.
Standard 175 gram ultimate discs work best, though you can supplement with lighter recreational discs for students who struggle with grip strength. Avoid those flimsy promotional discs that wobble through the air unpredictably.
Cones serve multiple purposes throughout the unit, marking field boundaries, creating drill stations, and setting up targets. You’ll want at least 20 cones, preferably in two different colours to distinguish between teams and boundaries.
Pinnies in two contrasting colours are essential for game play, and you’ll need enough for half your class. A whistle and clipboard round out the basics, helping you manage transitions and track assessments efficiently.
If creating this kind of structured session feels time-consuming, having a ready-made framework removes the stress. Feeling overwhelmed planning your PE classes? Stop spending hours creating lessons from scratch.
Download the Free Middle School Ultimate Frisbee Lesson Plan and walk into class fully prepared with structured drills, skill progressions, and ready-to-run activities.
Class Setup & Field Dimensions
A regulation ultimate frisbee field measures 100 metres by 37 metres, which is far too large for middle school students who lack the throwing distance and endurance for that scale. Modify your field to roughly 40 metres long by 20 metres wide with end zones about 10 metres deep. These dimensions work well for classes of 25 to 35 students playing five versus five or six versus six games.
Indoor adaptation becomes necessary when weather doesn’t cooperate or you’re teaching during winter months. A standard gymnasium works fine with modified dimensions of about 25 metres by 15 metres. Use existing basketball court lines when possible, which saves setup time and provides boundaries students already understand. Foam discs work better indoors because they won’t damage equipment or injure students who get hit accidentally.
Skill Level Considerations
Every class contains a mix of natural throwers who played catch as children and students who’ve never thrown anything beyond a crumpled paper ball. This 2-week ultimate frisbee unit plan accounts for both extremes through differentiation strategies built into each lesson.
Beginners need more guided practice with basic throws and catching, while experienced students benefit from challenges that push their skills further.
Differentiation strategies include varying throwing distances, adjusting drill complexity, and creating flexible groupings that shift based on current skill demonstrations rather than assumed ability. Students who struggle with the backhand throw might excel at defence, and those who can’t throw far might have excellent game sense. Middle school PE ultimate frisbee works best when you celebrate diverse strengths rather than focusing only on who can throw the farthest.
Having quality equipment that performs consistently makes it easier for students at all skill levels to progress. The right discs fly predictably when thrown correctly, giving immediate feedback that helps students connect proper technique with results.
Frisbee Discs
Best for: Middle school PE classes and beginner instruction
The Discraft Ultra-Star 175g Flying Disc is the official disc of USA Ultimate and delivers the consistency you need when teaching proper throwing mechanics to students who’ve never played before. It’s especially useful for unit plans where students need to see clear cause-and-effect between their technique and disc flight.
Why It Stands Out:
✔️ Official 175g weight provides authentic feel and teaches transferable skills
✔️ Predictable flight path rewards correct technique and exposes form errors immediately
✔️ Durable construction survives drops on concrete and rough beginner handling
✔️ Performs consistently across different weather conditions during outdoor PE classes
Unlike recreational discs that flutter unpredictably even with good throws, the Ultra-Star gives students honest feedback about their mechanics. When you’re running a structured unit plan where skills build day by day, having discs that fly the same way every time eliminates confusion about whether poor results come from bad technique or unreliable equipment.
Agility Cones
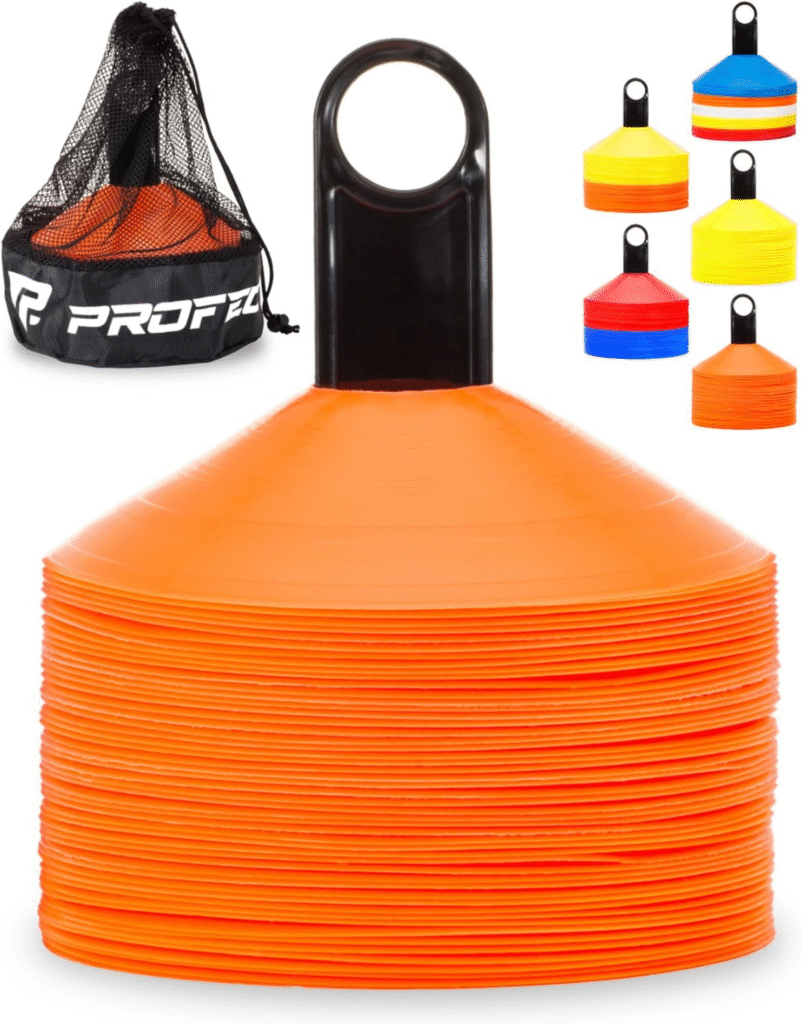
Best for: PE teachers running multi-station classes and tournament days
The SKLZ Pro Training Agility Cones (Set of 20) provide enough markers to set up multiple drill stations simultaneously while clearly defining field boundaries for small-sided games. They’re especially valuable during week one when you’re running three to four skill stations with groups rotating every seven minutes.
Why It Stands Out:
✔️ Set of 20 covers two complete fields plus extra markers for drill stations
✔️ High-visibility orange ensures students can see boundaries from across the field
✔️ Weighted base design prevents tipping during outdoor classes with moderate wind
✔️ Stackable construction simplifies storage in PE equipment rooms with limited space
Unlike basic traffic cones that blow over or cheap versions that crack when stepped on, these hold up through daily setup and breakdown across multiple classes. When your unit plan requires quick transitions between formations—from triangle passing to V-cut drills to tournament fields—having durable cones that stay where you place them keeps lessons moving efficiently.
2-Week Ultimate Frisbee Unit Plan for Middle School (Day-by-Day Breakdown)
Week 1 – Skill Development & Game Foundations
Day 1 – Introduction to Ultimate Frisbee
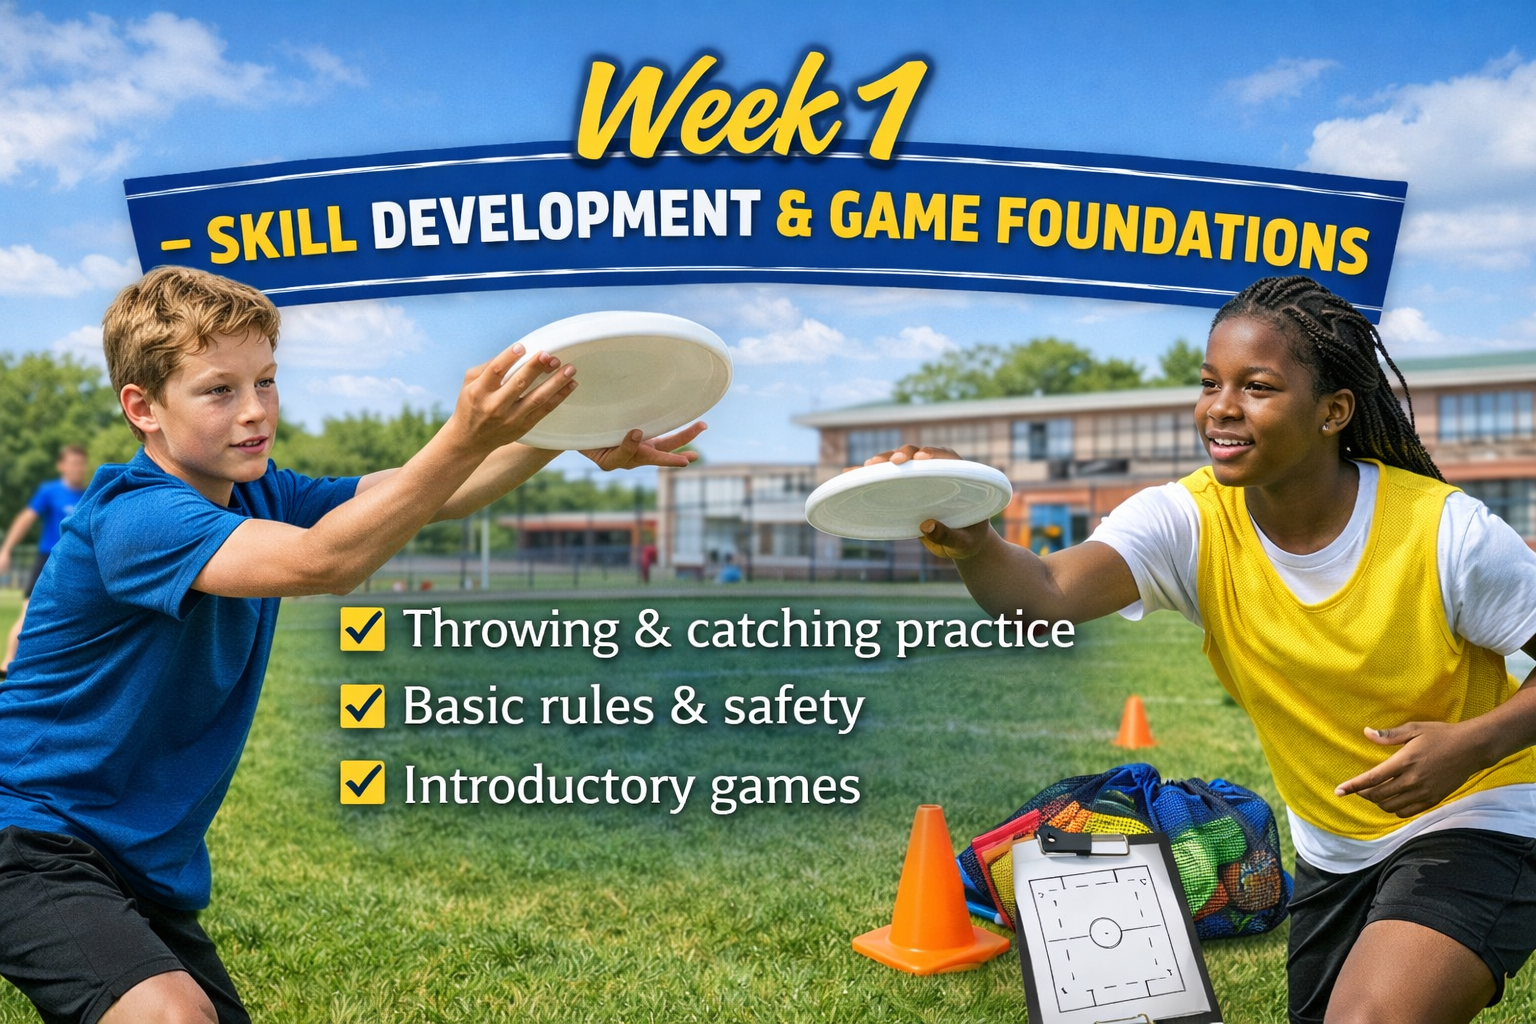
Start by explaining what ultimate frisbee actually is since many students will have zero familiarity with the sport. Show a short video clip of a real game, ideally featuring players around their age rather than elite adults performing moves they can’t replicate. The clip should be two to three minutes maximum because middle schoolers have limited attention spans for watching others play.
Cover the basic rules in simple language. No running with the disc. Defenders can’t touch you but they can block throws. Drop equals turnover. Score by catching in the end zone. That’s genuinely all they need to know on day one. Save complex rules like stall counts and travelling violations for later days when students have context for why those rules matter.
Safety expectations deserve explicit discussion. Ultimate frisbee is non-contact, which means no pushing, grabbing, or body checking even when competing for the disc. Middle school students will test these boundaries, so establish consequences clearly from the start. Students also need to understand that discs thrown at people rather than to people result in immediate time outs.
The intro throwing activity should be dead simple. Partner students up and have them stand three metres apart. Their only job is to throw the disc back and forth using whatever grip feels natural. Don’t correct form yet. Just let them explore how the disc flies and build confidence that they can actually complete a throw. Walk around observing who struggles so you can plan groupings for tomorrow.
Day 2 – Backhand Throw Mastery
The backhand throw forms the foundation of everything else in ultimate frisbee, so spending an entire day on it makes sense. Start by demonstrating proper grip, with the thumb on top of the disc, index finger along the rim, and remaining fingers underneath providing support. Students will want to grip it like a steering wheel initially, so correction happens through demonstrations rather than lengthy explanations.
Stance matters more than students realise. Point your non-throwing shoulder towards your target, step with your non-throwing foot, and snap your wrist as you release. Break this down into frozen moments rather than trying to explain it all at once. Show the starting position, hold it, show the release point, hold that, then demonstrate the full motion at speed.
Partner throwing drills should progress through increasing distances. Start at five metres for five throws, move to seven metres for five throws, then ten metres for five throws. Students who consistently complete throws at ten metres can continue backing up while those who struggle stay at shorter distances with focused practice. This built in differentiation keeps everyone challenged appropriately.
Accuracy challenges turn skill practice into games. Set up hula hoops or place cones as targets at various distances. Students earn points for hitting targets, creating competition that motivates practice. Rotate students through different target stations so they’re not standing in one spot getting bored.
Day 3 – Forehand (Flick) Throw Fundamentals
The forehand throw, commonly called a flick, intimidates many students because the wrist motion feels unnatural initially. Demonstrate the grip first, with the index and middle fingers inside the rim and the thumb on top. The grip looks almost like you’re about to flick a marble. Some students will try to throw it like a backhand with their hand rotated, so individual correction becomes necessary.
Proper wrist snap technique makes or breaks the forehand throw. The power comes entirely from snapping your wrist sideways, not from your arm. Students often try to muscle it with their whole arm, which produces wobbly throws. Have them practice the wrist snap motion without a disc first, then with a disc but without releasing it, then finally with actual throws.
Station rotation drills work brilliantly for forehand practice because students can work at their own pace. Set up four stations with different challenges: short distance accuracy, medium distance partner throws, moving target practice, and a video station where students watch and discuss proper technique. Groups rotate every seven minutes.
Moving target throws prepare students for real game situations where receivers don’t stand still. Have throwers aim at partners who walk slowly left or right. This simple variation dramatically increases difficulty and engagement compared to static target practice.
Day 4 – Catching Techniques & Defensive Positioning
Catching receives less attention than throwing in most PE frisbee activities, but dropped catches kill offensive drives just as surely as bad throws. Demonstrate the pancake catch with both hands clapping together on the disc like you’re catching a pancake between two spatulas. This technique works for throws coming at chest height or above.
One hand catches become necessary for low throws or when you’re running to catch up with the disc. Students need to understand that their hand shape resembles a C rather than a flat palm. The fingers point down for low catches and up for high catches. Let students experiment with both orientations.
Defensive marking basics introduce the idea that you’re trying to make throwing difficult without touching the thrower. Stand an arm’s length away, mirror their movements, and put your hands up to block throwing lanes. Middle schoolers will instinctively crowd into the thrower’s space, so you’ll need to enforce the no contact rule firmly while teaching proper positioning.
Day 5 – Offensive Movement & Cutting
Many middle school students stand around during invasion games waiting for someone to pass them the disc. Cutting refers to the deliberate movements receivers make to get open, and teaching this concept transforms how students play. Explain that cutters create separation from defenders through quick direction changes rather than just running straight.
The V cut drill teaches this concept brilliantly. Students start near the disc handler, take three steps away, plant their foot, and explode back towards the handler to receive the throw. The path creates a V shape. This simple pattern gives students a concrete movement to practice rather than vague instructions to “get open.”
Give and go practice adds a passing element to cutting. Student A throws to Student B, then immediately cuts to a new spot to receive a return pass. This basic two person pattern is the building block for more complex team offence. Run this drill continuously for five minutes with partners, then rotate partners so students practice with different throwers.
Week 2 – Strategy, Game Play & Assessment
Day 6 – Defensive Strategies
Man to man defence assigns each defender to guard a specific offensive player throughout the possession. This concept translates well from basketball, which most middle school students understand. Emphasise that defenders should stick with their assigned player rather than chasing the disc. Students will want to swarm the thrower, so reinforcing defensive assignments takes constant correction.
Force forehand or force backhand refers to defensive positioning that makes one throw easier than the other. If you stand on the thrower’s forehand side with your arms up, you force them to throw backhand. This strategic concept excites students who love the chess match aspect of sports. Demonstrate both forcing angles and let students practice each.
Turnover transition drills prepare students for the moment when defence becomes offence. When your team intercepts or the other team drops a catch, everyone’s role switches instantly. Run drills where you blow the whistle randomly during possession to trigger transition moments. Students must mentally flip from offence to defence or vice versa immediately.
Day 7 – Offensive Strategy & Spacing
Stack formation basics organise offensive players into a vertical line down the middle of the field. This creates clear cutting lanes on either side and prevents the cluttered mess that happens when everyone stands wherever they feel like it. Middle school students grasp this concept quickly when you compare it to offensive formations in other sports they know.
Creating space means spreading out rather than bunching together. When offensive players stand too close to each other, defenders can guard multiple people simultaneously. Students need repeated reminders to spread out because their instinct is to cluster near the disc. Use visual references, telling them to imagine they each need their own personal circle that doesn’t overlap with teammates.
Day 8 – Game Situations & Advanced Play
End zone strategy changes slightly when your team approaches scoring position. Throwing into a compressed space with defenders around requires different decisions than throwing across the open field. Discuss the concept of high percentage throws versus risky attempts. Students often try hero throws in the end zone when a simple pass would work better.
Stall count awareness introduces the rule that defenders can count to ten aloud while guarding the thrower. If the thrower doesn’t release the disc before “ten,” it’s a turnover. This rule prevents endless holding of the disc while looking for the perfect throw. Practise having defenders count during drills so students learn to make decisions under time pressure.
Sideline management refers to how teams rotate players during games since middle school classes typically have more than ten students but you’re playing five versus five or six versus six. Establish clear rotation systems where players substitute every few minutes or after each score. Students who aren’t currently playing can serve as sideline observers tracking specific statistics or cheering for their team.
Day 9 – Tournament Day
Round robin format ensures every team plays multiple games rather than single elimination that leaves some students sitting after one loss. With a class of 30, you might create six teams of five who each play three games. This structure keeps everyone active and provides multiple opportunities for students to demonstrate what they’ve learned in this ultimate frisbee unit plan for middle school.
Team rotation should be predetermined so transitions happen smoothly. Post a schedule showing which teams play when and on which field. This organisation prevents the chaos of students standing around arguing about who plays next. Build in water breaks between games because middle schoolers will forget to hydrate on their own.
Self officiating is central to ultimate frisbee’s “Spirit of the Game” philosophy. Players make their own calls about in and out of bounds, fouls, and violations. This forces students to practice honesty and conflict resolution, though you’ll need to referee occasionally when disagreements escalate. The self officiation aspect distinguishes ultimate from other invasion games unit sports.
Day 10 – Assessment & Reflection
Skill based assessment rubric should evaluate the key physical skills taught across the unit: backhand throw, forehand throw, catching, and game play movement. Create a simple four point scale where one equals emerging skill, two equals developing, three equals proficient, and four equals advanced. Most middle school students should score twos and threes with a few ones and fours.
Teamwork evaluation captures the collaborative aspects that make this ultimate frisbee lesson plan valuable beyond just physical skills. Did students communicate effectively? Did they include teammates of varying skill levels? Did they resolve disputes respectfully? This assessment can be peer based, self assessed, or teacher observed depending on your preference.
Student reflection sheets prompt metacognition about what they learned. Ask specific questions rather than open ended “what did you learn” prompts. What throw was easiest for you? What game situation challenged you most? How did your understanding of spacing change? These focused questions generate more thoughtful responses than vague reflection prompts.
Assessment Methods for Your Ultimate Frisbee Unit Plan
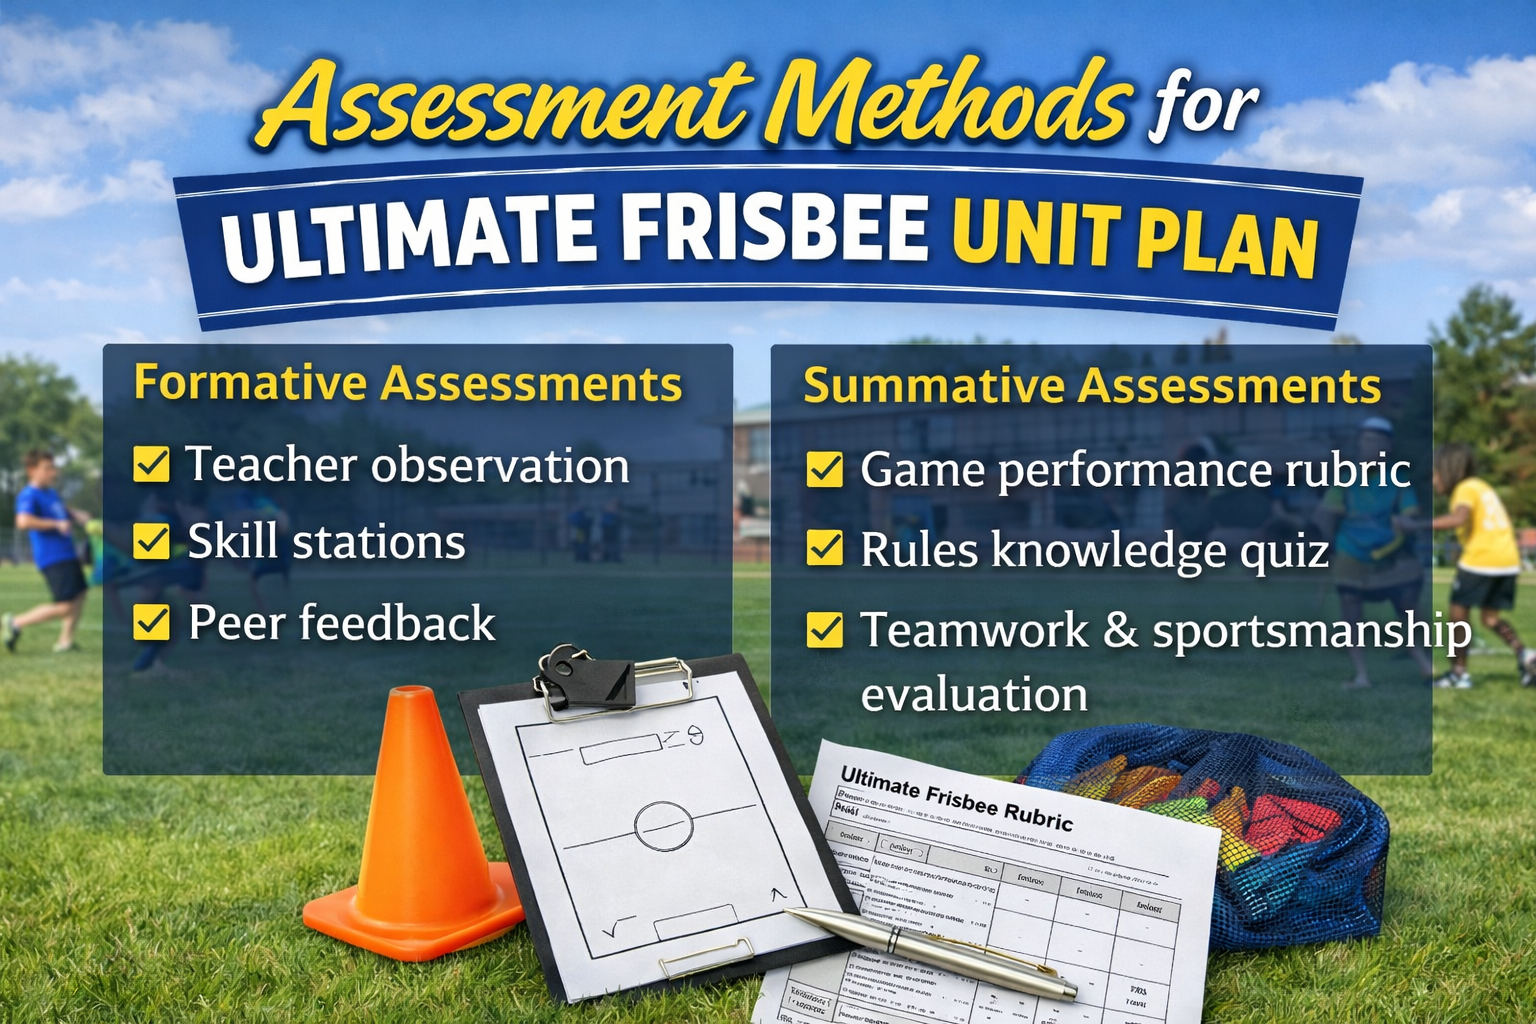
Formative Assessments
Teacher observation happens continuously throughout the 2-week ultimate frisbee unit plan. You’re watching how students execute skills, noting who needs extra support, and identifying which concepts require re-teaching. Keep a clipboard with a class roster and jot quick notes during activities. These informal assessments drive your daily adjustments to lessons.
Skill stations on days two, three, and four allow you to assess specific techniques in controlled environments. You can watch each student complete a skill several times and provide immediate feedback. This targeted observation is impossible during full games when 30 students are moving simultaneously.
Summative Assessments
The game performance rubric evaluates how well students apply skills during actual games. Rather than assessing isolated throws, you’re watching whether students make appropriate decisions, execute skills under pressure, and contribute to team success. This authentic assessment matters more than perfect technique demonstrated in drills.
A rules knowledge quiz can be written or verbal depending on your class structure. Include ten to fifteen questions covering essential rules like turnovers, scoring, stall counts, and boundaries. This assessment ensures students understand the game intellectually, not just physically.
Teamwork and sportsmanship evaluation recognises that middle school physical education games teach social skills alongside athletic skills. Students who encourage teammates, accept poor throws without complaining, and resolve disputes respectfully deserve recognition even if their throwing technique needs work. This assessment validates the effort of students who might not excel physically but contribute positively to class culture.
Modifications & Adaptations
For Large Classes
Multiple small fields work better than trying to run one large game with 40 students where most people stand around. Create two or three playing areas and rotate students through so everyone stays active. Smaller numbers per field means more disc touches per student, which accelerates learning.
Rotation systems become essential when you have more students than positions. Establish clear rotation rules so students know when they substitute. Consider having students count completed passes and rotating teams after five completions regardless of scoring. This prevents dominant teams from monopolising playing time.
For Limited Equipment
Partner stations maximise limited disc availability. If you only have six discs for 30 students, create six stations where pairs work on specific skills. Students rotate through stations, ensuring everyone gets disc time despite equipment constraints.
Skill circuits transform equipment limitations into structured practice. Set up stations for backhand accuracy, forehand accuracy, catching practice against a wall, and defensive footwork. Students spend five minutes at each station, and the circuit approach actually improves focus compared to students standing in long lines waiting turns.
For Different Skill Levels
Tiered drills within the same activity let students work at appropriate levels. During throwing practice, mark three distance lines at five, ten, and fifteen metres. Students choose the distance that challenges them appropriately rather than everyone attempting the same distance and experiencing either boredom or frustration.
Modified rules help equalise competition during games. Require teams to complete a minimum number of passes before scoring. Mandate that every player must touch the disc before the team can score. These adjustments force inclusion of varying skill levels rather than letting a few athletes dominate.
Frequently Asked Questions
A two-week unit works perfectly for middle school PE. Over 8 to 10 class periods, you can introduce core skills, reinforce rules, and finish with structured games. During the first few days, students focus on throwing, catching, and understanding movement without the disc. By the second week, they apply those skills in small-sided games before progressing to full-field play. This timeline gives students enough repetition to build confidence without losing excitement. If your schedule allows, you can extend the unit to three weeks for deeper strategy and gameplay development.
Start with the backhand throw and two-hand catching technique. These skills form the foundation of the game. After that, introduce the forehand throw, pivoting, and basic cutting. Students should also understand key rules such as no traveling and non-contact play. Emphasize spacing and communication early, since Ultimate depends heavily on teamwork and awareness rather than individual dominance.
Assessment should focus on skill execution, teamwork, and understanding of rules. Observe throwing accuracy, proper pivot use, defensive effort, and sportsmanship. You can use simple rubrics that measure participation, decision-making, and respect for fair play. Short reflection sheets or peer feedback also help students think about their progress.
Yes, Ultimate Frisbee is generally safe because it is non-contact. Clear rules and proper spacing help reduce the risk of collisions.
Conclusion
This ultimate frisbee unit plan for middle school provides the detailed roadmap you need to teach the sport effectively across ten instructional days. The day by day breakdown eliminates guesswork about what to teach when, while the built in differentiation strategies ensure success for students at all skill levels.
The progression from basic throws through complex game strategy mirrors how students actually learn, building confidence through achievable challenges rather than overwhelming them with too much too soon.
Adapt this 2-week ultimate frisbee unit plan to fit your specific class needs. If your students need more throwing practice, extend week one by a day or two. If they grasp skills quickly, compress some lessons and add more game time. The framework provides structure whilst allowing flexibility for your unique situation and student population. The ultimate frisbee drills for beginners included here work equally well for students with zero experience and those who’ve played casually before.
Large classes don’t become manageable by chance — they become manageable by design. Sign up using the form below to receive our free 60-minute Ultimate Frisbee PE lesson plans, drill progressions, and classroom-ready resources designed specifically for beginner middle school teachers. These plans are based on real-world coaching experience and structured for immediate classroom use.
