
Planning a two-week ultimate frisbee unit challenges even experienced PE teachers who want to balance skill development with actual gameplay. Students need enough practice time to build competence, but they also crave the excitement of competitive matches. The sweet spot lies in a structured progression that introduces new concepts daily while reinforcing previous lessons through repetitive drills.
Most teachers make the mistake of jumping into full games too quickly before students master basic throwing and catching mechanics. This approach leads to frustration because students cannot execute plays successfully. A better strategy involves dedicating the first week entirely to fundamental skills and small-sided games before transitioning to regulation play in week two.
This comprehensive unit plan maps out every single class session with specific objectives and activities that build on each other logically. Teachers can follow this outline exactly as written or modify it based on class size and skill level. Either way, the structure ensures students leave the unit with solid frisbee skills and positive memories of an engaging sport.
Tired of spending your weekends building PE lessons from scratch?
You don’t have to figure it out alone. Download our free Middle School Ultimate Frisbee PE Unit Plan and show up to every class with a complete, ready-to-run structure, drills, skill progressions, game formats, and day-by-day lesson outlines already done for you. Built specifically for middle school PE teachers who want to take students from zero experience to tournament-ready in just two weeks.
Step-by-Step Guide to 2 week Ultimate Frisbee Training Program
Week 1 Day 1: Introduction and Basic Grip
1. Class Objectives
Students will understand the core concept of ultimate frisbee and learn the proper backhand grip. This first session sets expectations for behavior and introduces Spirit of the Game as the foundation for all future activities. Keep energy high and explanations brief because middle schoolers learn better through action than lectures.
2. Warm-Up Activity (5 minutes)
Have students jog around the perimeter of the playing area while they toss a disc gently between their hands. This simple activity gets blood flowing while it familiarizes students with how the disc feels. Call out different movements like high knees or side shuffles to add variety and engagement.
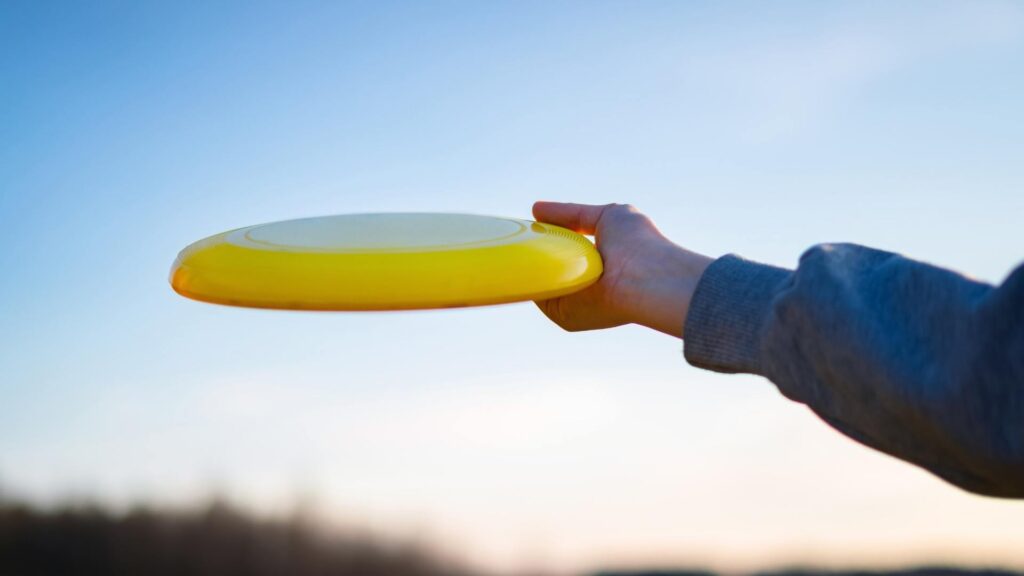
3. Grip Instruction (10 minutes)
Demonstrate the backhand grip with the thumb on top and fingers spread underneath the rim. Walk through the class and physically correct each student’s hand position. Have them practice picking up the disc ten times to build muscle memory. Point out excellent examples and ask those students to show the class their grip.
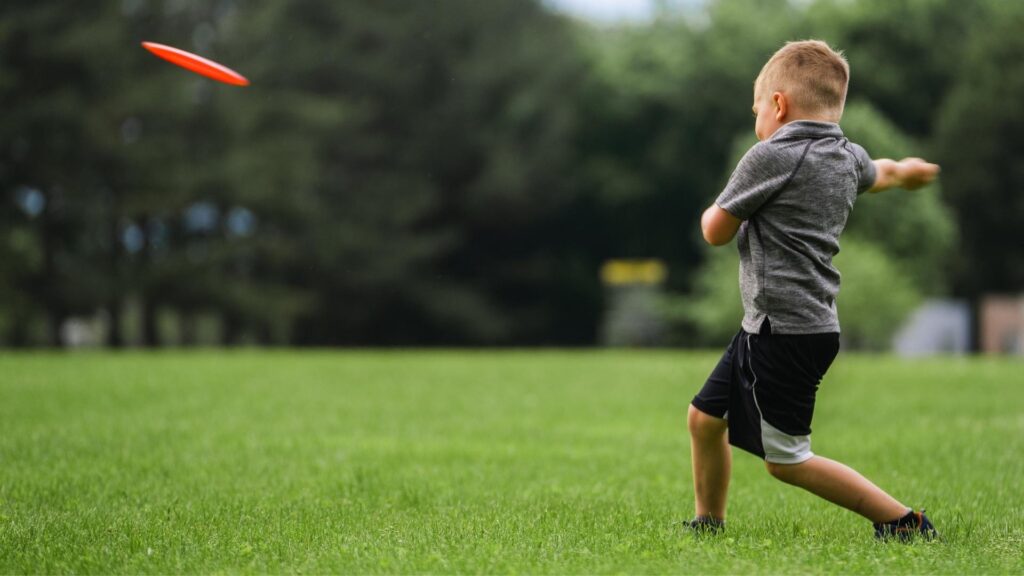
4. Partner Throwing Drill (20 minutes)
Set up pairs standing ten feet apart. Students focus purely on grip and wrist snap without worrying about distance or accuracy yet. Emphasize keeping the disc level at release. Circulate between pairs and offer specific feedback about what each student does well before mentioning areas for improvement.
5. Cool Down and Reflection (5 minutes)
Gather students and ask what felt most challenging about their first throws. Address common concerns and preview tomorrow’s lesson on catching techniques. End with positive reinforcement about the progress everyone made in just one class session. You can also check out our guide on How to Teach Ultimate Frisbee in Middle School PE, so that you may have a clear structure that builds student confidence and skill development at every stage.
Week 1 Day 2: Catching Fundamentals
1. Class Objectives
Students will master the pancake catch and learn to track the disc with their eyes through the entire catching motion. This session builds confidence through high-success drills that minimize drops and frustration.
2. Dynamic Warm-Up (5 minutes)
Lead students through arm circles, wrist rotations, and lunges to prepare their bodies for throwing and catching. Add a quick review of yesterday’s grip by having everyone hold an imaginary disc and show proper hand position.
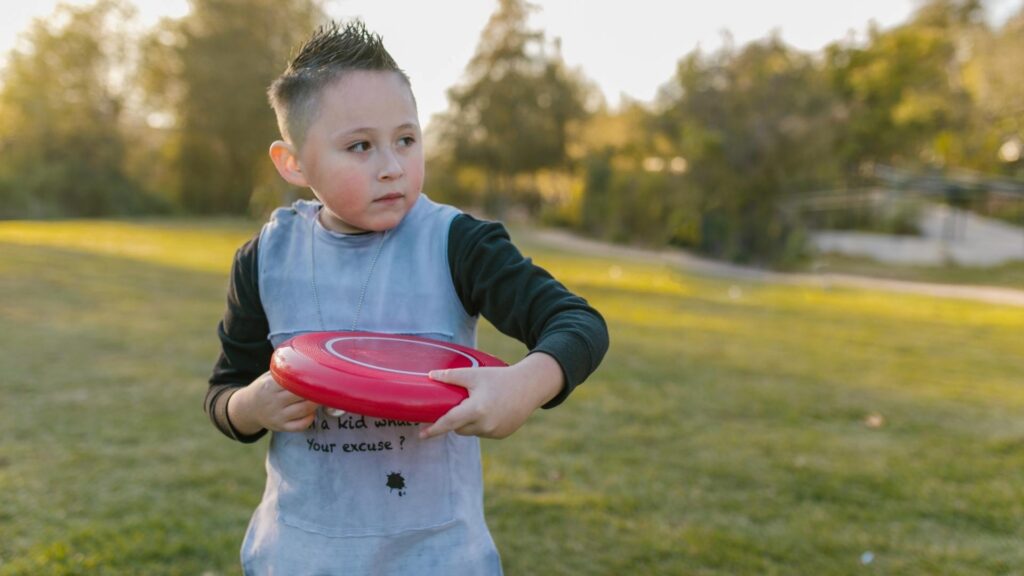
3. Pancake Catch Demonstration (8 minutes)
Show the two-handed catching technique with thumbs together forming a W shape. Emphasize watching the disc all the way into your hands because looking away early causes most drops. Throw soft, accurate passes to individual students while the class observes proper technique.
4. Stationary Catching Drill (15 minutes)
Partners stand twelve feet apart and throw back and forth. The focus stays entirely on catching form rather than throwing accuracy. Encourage students to call out “got it” when they make clean catches. This verbal reinforcement builds confidence and creates positive associations with success.
5. Moving Catch Progression (12 minutes)
Have catchers take two steps forward before receiving the throw. Progress to lateral shuffles and then random movement patterns. Throwers must lead receivers appropriately so the disc arrives where catchers will be rather than where they currently stand.
6. Wrap-Up (5 minutes)
Quiz students on key catching points like keeping eyes on the disc and using both hands. Celebrate the class’s improvement from day one and build excitement for tomorrow’s distance throwing challenges. Learn more about Teaching Throwing and Catching to Students Who Have Never Played Before to develop solid techniques that serve them well in any disc sport.
Week 1 Day 3: Building Throwing Distance
1. Class Objectives
Students will increase throwing distance while maintaining accuracy and proper form. This session introduces target games that make repetitive practice feel competitive and fun.
2. Skill Review Warm-Up (7 minutes)
Partners throw and catch from fifteen feet to review proper mechanics from previous classes. Watch for students who revert to bad habits and offer quick corrections. This daily review ensures fundamentals stay sharp throughout the unit.
3. Distance Progression Drill (15 minutes)
Start pairs at fifteen feet and have them complete five consecutive accurate catches before moving back five feet. Some pairs advance quickly while others need more time at each distance. Allow this differentiation so everyone works at their optimal challenge level.
4. Target Zone Competition (15 minutes)
Set up markers at twenty and thirty feet with point values assigned to each zone. Students throw five times and track their scores. Create a class leaderboard to fuel friendly competition. Partner students with similar abilities so matches stay close and exciting.
5. Cool Down Game (8 minutes)
Play “Ultimate Keepaway” where groups of four try to complete ten passes while one defender tries to knock down throws. This game combines all skills learned so far in a low-pressure format.
Week 1 Day 4: Pivot Foot and Movement Rules
1. Class Objectives
Students will learn that they cannot run with the disc and must establish a pivot foot after catching. This foundational rule prevents traveling violations that disrupt game flow.
2. Movement Rule Explanation (8 minutes)
Demonstrate legal and illegal movements after catching the disc. Show how one foot must stay planted while the other can move freely. Have students practice with an imaginary disc so they feel comfortable before adding the actual throw.
3. Catch-and-Pivot Drill (15 minutes)
One partner throws while the other catches and must pivot to face a different direction before throwing back. Add a passive defender who counts to five. The catcher must complete the return pass before the count ends. Rotate positions every few minutes.
4. Three-Person Weave (12 minutes)
Groups of three move down the field while throwing and catching. The middle person starts and throws to either side player who has cut forward. That receiver immediately throws to the other side player. This drill reinforces pivot rules while adding game-like movement.
5. Mini Scrimmage (10 minutes)
Play three versus three on a small field. Teams score by completing seven passes without drops. Pause play when you notice travel violations and use those moments as teaching opportunities.
Week 1 Day 5: Introduction to Defense
1. Class Objectives
Students will learn basic defensive positioning and understand person-to-person coverage. This session prepares them for actual games by teaching both sides of the ball.
2. Defensive Stance Practice (8 minutes)
Show proper defensive position with knees bent and arms raised to block passing lanes. Have students mirror your movements as you demonstrate lateral slides and quick direction changes. This isolated practice builds muscle memory before adding offensive players.
3. One-on-One Marking Drill (12 minutes)
Pair students where one plays offense and cuts while the other defends. No disc yet because the focus stays purely on movement and positioning. Defenders should stay within arm’s reach while moving with their player. Switch roles after three minutes.
4. Throwing Against Defense (15 minutes)
Add the disc to the previous drill. Offensive players receive passes and must throw before a defender, counting to ten, reaches the stall. This simulates game pressure without full-field complexity.
5. Scrimmage with Scoring (10 minutes)
Play four versus four with actual end zones. Teams score by catching in the end zone. Keep fields small so everyone stays involved. Circulate and offer coaching tips during natural breaks in play.
Week 2 Day 1: Forehand Throw Introduction
1. Class Objectives
Students will learn the forehand grip and basic throwing motion. This advanced throw adds versatility but requires patience because most beginners struggle initially.
2. Forehand Grip Demo (10 minutes)
Show the gun-shaped grip with index and middle fingers along the inside rim. Walk through the class and adjust hand positions. Have students practice the wrist snap motion without releasing the disc to build feel for the movement.
3. Partner Forehand Practice (15 minutes)
Start at just eight feet apart because forehands require more wrist strength than backhands. Students should focus on form over distance. Many will struggle, and that remains perfectly normal. Offer constant encouragement and celebrate small victories.
4. Backhand-Forehand Combo Drill (10 minutes)
Throwers alternate between backhand and forehand throws to the same partner. This helps them understand when each throw works best. Receivers practice catching throws that spin in opposite directions.
5. Game Application (10 minutes)
Play modified games where students earn bonus points for completed forehand throws. This incentive encourages trying the new skill in actual gameplay without making it mandatory.
Week 2 Day 2: Offensive Strategy
1. Class Objectives
Students will understand basic cutting patterns and learn to create space for teammates. This session teaches the mental side of ultimate frisbee beyond just physical skills.
2. Cutting Pattern Walkthrough (10 minutes)
Demonstrate how offensive players without the disc should cut to open spaces rather than stand still. Show both straight cuts and comeback cuts. Have students practice these movements without defenders or the disc to understand the concepts clearly.
3. Handler-Cutter Drill (15 minutes)
Groups of three where one handler stays near the thrower, and two cutters work downfield. Cutters take turns making sharp cuts while the handler delivers passes. Rotate positions so everyone experiences each role.
4. Full-Field Scrimmage (20 minutes)
Play five versus five on regulation-sized fields. Pause occasionally to point out excellent cuts or missed opportunities. Let students problem-solve offensive strategies rather than dictating every move.
Week 2 Day 3: Defensive Strategies
1. Class Objectives
Students will learn force defense and understand how to work as a defensive unit. This session elevates their game understanding beyond individual skills.
2. Force Concept Explanation (10 minutes)
Show how defenders position themselves to push offensive players toward one side of the field. Demonstrate forcing backhand versus forcing forehand. Have students practice the positioning without actual throwing.
3. Team Defense Drill (15 minutes)
Groups of five practice coordinated defense where each player forces the same direction. Offensive players try to complete passes while defenders communicate about coverage. Switch offense and defense every three minutes.
4. Competitive Scrimmage (20 minutes)
Full games with officials to enforce all rules. Students call their own fouls, but you step in for disputes that cannot be resolved. Track scores and post results to build investment in outcomes.
Week 2 Day 4: Tournament Preparation
1. Class Objectives
Students will refine all skills through station work and prepare for tomorrow’s class tournament. This session allows individual attention for students who need extra help.
2. Station Rotation (30 minutes)
Set up four stations for throwing accuracy, catching under pressure, defensive positioning, and scrimmage play. Students spend seven minutes at each station. Circulate and offer personalized coaching based on individual needs.
3. Team Selection and Strategy (15 minutes)
Announce tournament teams and give groups time to practice together. Encourage students to discuss positions and offensive strategies. This planning builds excitement while teaching leadership and collaboration.
Week 2 Day 5: Class Tournament
1. Class Objectives
Students will apply all learned skills in competitive games while demonstrating Spirit of the Game principles. This culminating event celebrates two weeks of hard work and improvement.
2. Tournament Format (40 minutes)
Run a bracket or round-robin format depending on class size. Keep games short at ten minutes or first to seven points. Multiple fields allow everyone to play simultaneously. Student volunteers can help track scores and time.
3. Awards and Reflection (5 minutes)
Recognize outstanding sportsmanship rather than just athletic performance. Have students vote for opponents who best demonstrated Spirit of the Game. End with a class discussion about favorite moments and skills they feel most proud of mastering. Check out our guide on Ultimate Frisbee Rules for Schools that work in real PE classes with real-time constraints and skill limitations.
Best Equipment For 2 Week Ultimate Frisbee
The right gear doesn’t just make lessons run smoother, it directly supports the skill-building progression you’ve spent two weeks carefully building. From day one disc exploration to the final tournament, having equipment that fits your students makes every session safer, more structured, and more enjoyable for everyone involved.
1. Refresh Sports Lightweight Soft Flying Disc
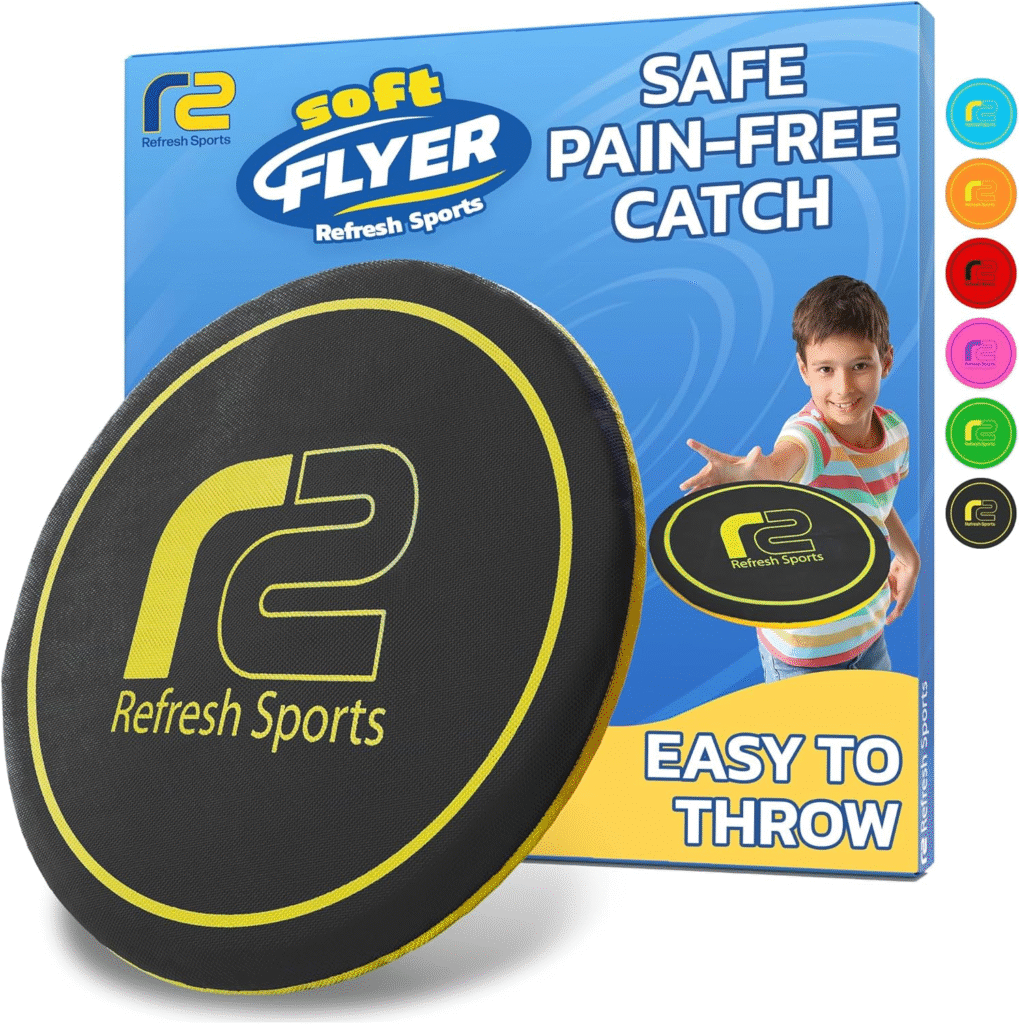
Best for: Beginners and first-time disc handlers in PE classes
The Refresh Sports Lightweight Soft Flying Disc is the ideal starting point for Week 1, where students are picking up a disc for the very first time. Its soft construction removes the fear factor that often makes beginners hesitant to attempt catches, which directly supports the confidence-building work in Days 1 and 2. The lightweight design also makes it easier for students to execute proper grip and wrist snap without fighting against a disc that feels too heavy or stiff for their current strength level.
Beyond the early sessions, this disc holds up well through the repeated drops and awkward releases that come naturally with beginner practice. It performs consistently in outdoor PE settings and transitions smoothly from individual drills to small-sided games without any loss in flight quality. For teachers running a full class of first-timers, this disc removes unnecessary barriers and keeps the focus where it belongs, on learning proper technique.
✔️ Ideal for both indoor and outdoor PE environments
✔️ Soft build eliminates fear of impact for hesitant beginners
✔️ Lightweight feel supports correct grip and release mechanics
✔️ Durable enough to handle the high-drop volume of beginner sessions
2. Sunnyglade 4 Pack 15.5-inch Collapsible Traffic Cones
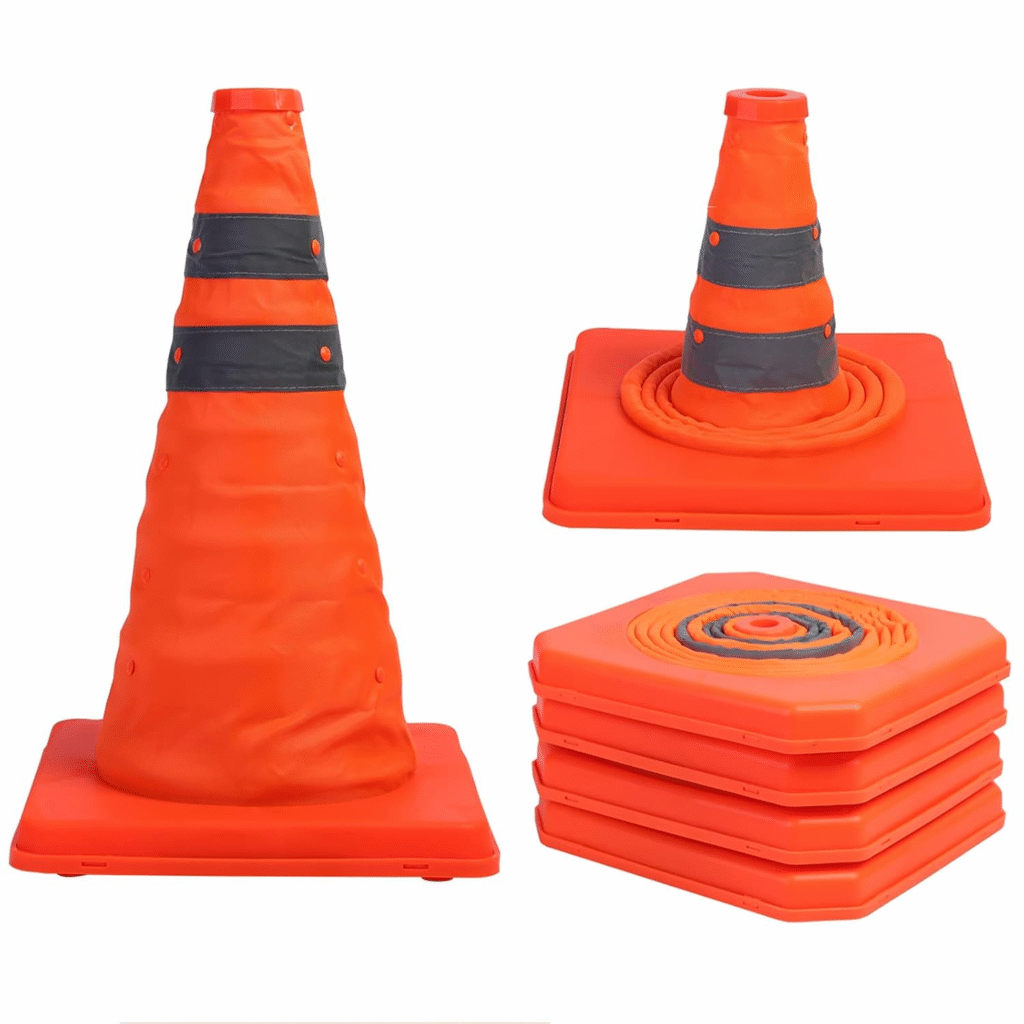
Best for: PE teachers managing drills, boundaries, and field setup
Throughout this two-week unit, you will set up target zones, mark field boundaries, organize station rotations, and define end zones for mini scrimmages, all of which require reliable, visible markers that go up fast. The Sunnyglade Collapsible Traffic Cones handle every one of those situations without slowing down your class. Their bright orange color stays visible even when students are moving quickly across the field, which keeps drill structure clear and reduces confusion during transitions between activities.
What makes these particularly useful for a unit of this length is the collapsible design, which means setup and breakdown take under two minutes regardless of how many configurations you run that week. They are also light enough for students to reposition between station rotations on Day 8 without disrupting the pace of the lesson. If you are running multiple fields simultaneously during the Week 2 tournament, these cones are what keep your playing areas organized and clearly defined throughout.
✔️ Ideal for marking target zones, end zones, and rotation stations
✔️ High-visibility orange color keeps field boundaries clear during fast play
✔️ Collapsible design allows rapid setup and breakdown between lessons
✔️ Lightweight enough for students to manage during station transitions
3. Boyiee Pinnies Scrimmage Vests
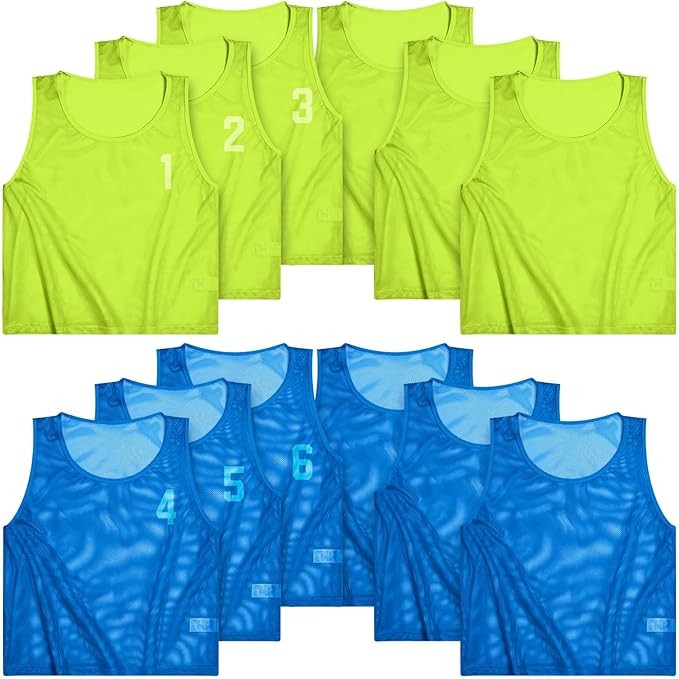
Best for: Teachers running team drills, scrimmages, and tournament play
Once students move into the three-versus-three and four-versus-four scrimmages that begin in Week 1 Day 4, team identification becomes essential for keeping gameplay organized and focused. Without a clear visual distinction between teams, students waste time questioning who is on their side instead of applying the cutting patterns and defensive strategies you have spent days teaching. The Boyiee Pinnies Scrimmage Vests solve that problem instantly with vibrant, easy-to-read colors that make team assignments obvious from across the field.
These vests are especially valuable during the Week 2 tournament when multiple games run simultaneously, and keeping teams distinct becomes even more critical. The breathable fabric keeps students comfortable during high-movement sessions, and the adjustable sizing accommodates the wide range of body types typical in any middle school PE class. They also withstand the wear of daily use across a full two-week unit without losing their shape or color clarity, making them a practical long-term investment for any PE program running disc sports regularly.
✔️ Durable enough for daily use across multi-week PE units
✔️ Vivid colors eliminate team confusion during fast-paced scrimmages
✔️ Breathable fabric keeps students comfortable through high-energy sessions
✔️ Adjustable sizing fits the full range of middle school body types
Conclusion – Final Verdict!
This two-week unit plan provides a complete roadmap for teaching ultimate frisbee from absolute beginner level to competitive gameplay. Each lesson builds logically on previous sessions while introducing new challenges that keep students engaged. Teachers who follow this structure will find that students develop real competence and genuine enthusiasm for the sport by the final tournament day.
The progression from isolated skills to full games ensures no student feels overwhelmed or left behind during the unit. Daily skill reviews prevent backsliding while varied activities maintain high energy throughout both weeks. Students leave with transferable skills like teamwork and conflict resolution that extend far beyond the playing field into other areas of their lives.
If you would like a ready-to-use version of everything in this guide, the free Middle School PE Unit Plan has you covered. It allows you to walk into class with every lesson already planned and organized. The plan features a complete Ultimate Frisbee curriculum for middle school students, with clear lessons that teach throwing, catching, and strategy step by step. You will also find interactive activities that promote teamwork and fitness, plus useful guidance for running fun and respectful scrimmages where every student feels included.
